Flash Sale 70% Off
Give customers details about the banner image(s) or content on the template.
Are You One of Our Winners?

Thinking about how to trim your own hair might feel a little nerve-wracking, but with the right guidance, it’s a skill that’s surprisingly easy to pick up. A good at-home trim can save you time and money while keeping your style looking sharp between salon appointments. The secret is to start small, get the right tools, and follow a few basic techniques.
Staring at your reflection with scissors in hand can feel like a major moment of truth, but giving yourself a decent trim is completely doable. This guide is here to walk you through it, step-by-step, so you can build confidence and take control of your look. With a little patience and the right gear, you'll master this useful skill.
Let's push aside those haircut horror stories you've heard. We're not talking about attempting a brand-new, complicated cut. This is all about maintenance and empowerment. When you know how to trim your own hair, you can snip off split ends the second you see them, which is one of the best ways to keep your hair healthy in the long run.

If you're curious about DIY trims, you're definitely not alone. Taking grooming into our own hands is more than just a passing trend—it's a real shift in how we think about personal care. It’s all about convenience, saving a few bucks, and the simple satisfaction of learning something new.
The numbers back this up, too. The global market for DIY haircut kits was already valued at USD 932.28 million back in 2025. It’s now projected to skyrocket to USD 1,868.58 million by 2033, growing at a steady clip of 9.08% each year. That’s a whole lot of people successfully trimming their own hair. You can explore more about this consumer behavior shift if you're curious.
The perks go way beyond just saving some cash. Learning to handle your own trims has some really practical advantages that just make life easier.
This guide will get you completely set up. We'll cover everything from building your toolkit and prepping your hair to specific cutting methods, making sure you feel confident before you make that first cut.
A great at-home haircut starts long before you make the first snip. It really begins with getting the right gear together. Honestly, the biggest mistake most people make is grabbing those all-purpose kitchen scissors. They're designed for cutting cardboard, not delicate hair, and they'll leave you with wonky lines and damaged ends.
To get a clean, professional-looking result, you need a few dedicated tools. Knowing what each item does and why it’s important is the first step toward a trim you’ll actually be proud to show off. Let's build your perfect toolkit.
Before we dive in, here’s a quick look at the must-have tools you’ll need to get started. Think of this as your foundational kit for achieving clean, precise results right from your own bathroom.
| Tool | Primary Function | Pro Tip for Use |
|---|---|---|
| Professional Hair Shears | Cleanly cutting hair strands | Use only for hair. Designate them as sacred to keep the blades perfectly sharp. |
| Fine-Tooth Comb | Creating clean parts and detangling | Look for a comb with both fine and wide teeth for maximum versatility. |
| Alligator or Duckbill Clips | Sectioning hair and keeping it out of the way | The stronger the grip, the better. You don't want sections slipping while you're focused on cutting. |
| Spray Bottle with Water | Dampening hair for better control | A light mist is all you need. Soaking the hair can make it stretch, leading to uneven results once dry. |
| Cape or Old Towel | Keeping hair clippings off skin and clothes | Drape it securely. Nothing is more annoying than those tiny, itchy hairs down your back all day. |
| Electric Clippers & Guards | Cutting shorter styles (buzz cuts, fades) | Always start with a longer guard than you think you need. You can always take more off, but you can't put it back on. |
Each of these tools plays a critical role in the process, turning a potentially messy task into a manageable and even enjoyable one.
If you buy only one thing, make it a proper pair of hair-cutting shears. These are not just fancy scissors; they're precision instruments designed with incredibly sharp blades that slice cleanly through hair without bending or crushing it.
Using dull, generic scissors is what frays the ends of your hair—which directly causes the split ends you’re trying to get rid of! A sharp pair of shears ensures a crisp, healthy cut that helps your style last longer. You don’t need to break the bank, but they absolutely must be sharp and used only for cutting hair.
Beyond the shears, a few other items are critical for making the process smooth and clean. Each one plays a specific role in helping you get that even, tidy cut you're after.
A well-chosen comb is more than just a detangler; it's a foundational tool for creating the precise sections needed for an even haircut. The right comb ensures hair is perfectly aligned, giving you a clear guide for every snip.
If you're planning on maintaining a shorter style, like a buzz cut or a fade, your primary tools will look a little different.
For these looks, a reliable set of electric clippers is indispensable. They come with clipper guards, which are the plastic attachments that snap onto the blade. These are numbered to correspond with different hair lengths and are the secret to getting a consistent length all over. A word of advice: always start with a longer guard than you think you need. It’s far less stressful to go over it again with a shorter one than to fix a patch that's too short.
Understanding how these tools work together is what makes all the difference. For instance, the comb you choose can dramatically affect your ability to create neat sections. If you want to learn more, you can start by exploring different hair comb types and seeing how they help with various styling and cutting techniques.
Alright, you've got your tools. Now for the fun part—actually cutting some hair. The secret to a good home haircut is to keep it simple, especially when you're starting out. Don't worry about mastering complicated salon techniques right away. We're going to focus on a few solid, confidence-building methods that get the job done for the most common trims.
This little flowchart breaks down the basic process, showing how your shears, comb, and clips all work together to create a clean, intentional cut.
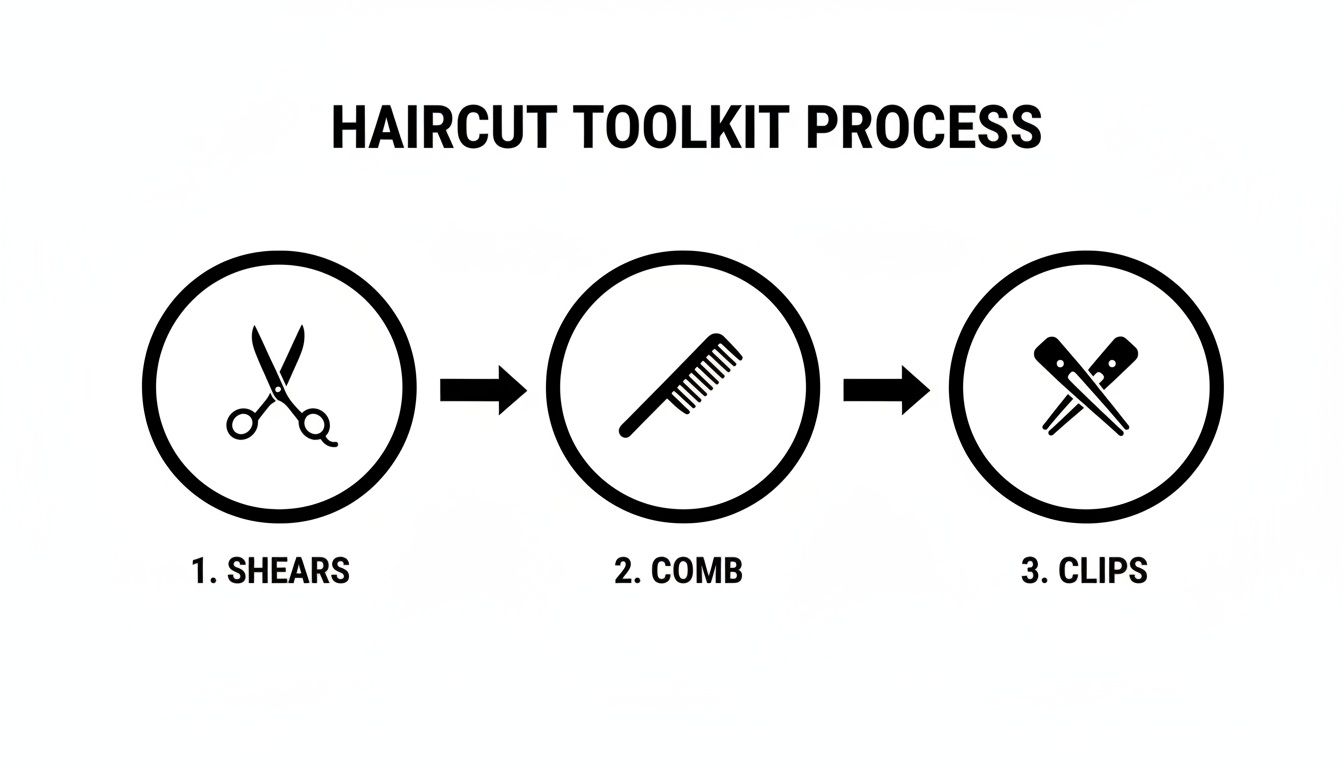
See? It's all about a systematic approach. Sectioning your hair properly is just as important as the snip itself.
"Dusting" is a fantastic trick for getting rid of split ends without losing any noticeable length. Think of it as just skimming the "dust" off your damaged ends, usually less than a quarter of an inch. For this to work, your hair needs to be completely dry and straightened so you can easily spot the offenders.
Grab a small section of hair, about an inch wide, and twist it tightly from root to tip. As you twist it into a rope, you'll see all the little damaged ends pop out along the sides.
This is your moment. Very, very carefully, take your shears and snip off only those tiny ends that are sticking out. Be patient and work your way down the twist. When you let the section go, you'll have smoother, healthier-looking hair that's still the same length. Now, just repeat that across your whole head.
Pro Tip: Seriously, don't try this on wet hair. Water hides split ends and makes hair stretch, which can lead to a wonky, uneven cut once it dries. Dry hair shows you exactly what needs to go.
Bangs demand a bit of precision, but you can absolutely maintain them yourself. The golden rule is to always cut them when your hair is dry and styled just how you wear it. Cutting bangs wet is the number one reason people end up with micro-bangs they never asked for—hair shrinks when it dries!
For Blunt Bangs:
For Curtain Bangs:
Looking for a super easy way to add some soft, face-framing layers? The ponytail method is your new best friend. It’s perfect for medium to long hair and adds movement without you having to get into a complicated, technical cut.
Start by brushing your hair until it's completely tangle-free. Now, flip your head upside down and gather every last strand into a high, tight ponytail right at the top of your forehead. Secure it with a hair tie.
Slide a second hair tie down the length of the ponytail, stopping where you want your shortest layers to begin. Make sure that second tie is perfectly straight. Holding the end of the ponytail securely, take your shears and cut straight across, right below that second hair tie. For a less blunt finish, you can use that same point-cutting technique here.
When you take the ponytail out, you'll have these beautiful, cascading layers. Because the hair from the back of your head had to travel the farthest to get into the ponytail, it will remain the longest, naturally creating a soft V-shape and face-framing pieces in the front. From here, you can explore other professional hair cutting techniques to add even more texture.
If you have very short hair, clippers are the key to keeping your cut looking sharp and clean. They might look intimidating, but it’s all about understanding the guards. These are just numbered plastic combs that snap onto the blade—the lower the number, the shorter the hair.
DIY grooming has really stuck around. The global demand for hair clippers skyrocketed during the pandemic and never really went away. People got used to the convenience, and now it's just a normal part of personal care for many.
Getting Started with a Clipper Trim:
Once you get these core methods down, you’ll have the skill and confidence to handle your own hair maintenance between salon visits and keep your style looking fresh.
Knowing what not to do when you trim your own hair is just as critical as mastering the right techniques. Let’s walk through some of the most common blunders I’ve seen that can turn a simple trim into a full-blown hair catastrophe. The good news? For every potential misstep, there’s an easy fix.
That first snip is always the most nerve-wracking, but a little foresight can save you from the panic of taking off way too much. Just keep repeating this mantra: you can always cut more, but you can never put it back on.
One of the easiest traps to fall into is trying to trim your hair in a dimly lit bathroom. Poor lighting is your worst enemy—it creates shadows that hide uneven spots and makes it nearly impossible to see fine details, like individual split ends.
You might think your cut looks perfectly straight, only to step into the daylight and find lopsided sections you completely missed. Don't let this happen to you. Set yourself up for success from the start.
I've said it before, but it’s so important it bears repeating: do not use kitchen or craft scissors. I know it's tempting, but those blades are designed for paper, not hair. They're far too dull and will end up bending and chewing through your hair instead of making a clean slice.
This not only creates a jagged, uneven line but also causes serious damage to the hair cuticle. You'll actually end up with more split ends, which is likely the very thing you were trying to get rid of. It's one of the fastest ways to undo all your hard work. You can learn more about how bad habits damage hair by reading about these common hair styling mistakes that cause split ends.
A very common impulse is to pull a section of hair tight and snip straight across. It seems like the most logical way to do it, right? Unfortunately, this often creates a severe, blocky look that’s unflattering and really difficult to blend. Any tiny imperfection in a hard, horizontal line becomes instantly obvious.
A much more forgiving and professional-looking method is point cutting. Here’s how you do it:
This technique removes the length you want but creates a softer, slightly textured edge that blends beautifully. It diffuses that hard line, making your at-home haircut look less like a DIY project and more like a quick salon touch-up.
"Posture is everything. If you're hunched over the sink or craning your neck to see, you're guaranteed an uneven result. Sit or stand up straight, keep your head level, and bring the hair to you—don't bend your head to the hair."
This tiny adjustment is a game-changer. It ensures that when you stand up and let your hair fall naturally, it hangs evenly and symmetrically. It's a simple trick that prevents a lopsided disaster. By sidestepping these common pitfalls, you’re setting yourself up for a trim you can actually be proud of.
You did it! The hard part of trimming your own hair is officially over. But before you put those scissors away, there’s one last crucial step. What you do right after a trim is just as important as the cut itself—it's what makes your hard work last.
Think of it this way: your newly trimmed ends are at their absolute healthiest. The goal now is to keep them that way for as long as possible. A little post-trim TLC seals the hair cuticle, floods your strands with moisture, and protects them from the daily wear-and-tear that causes split ends in the first place.
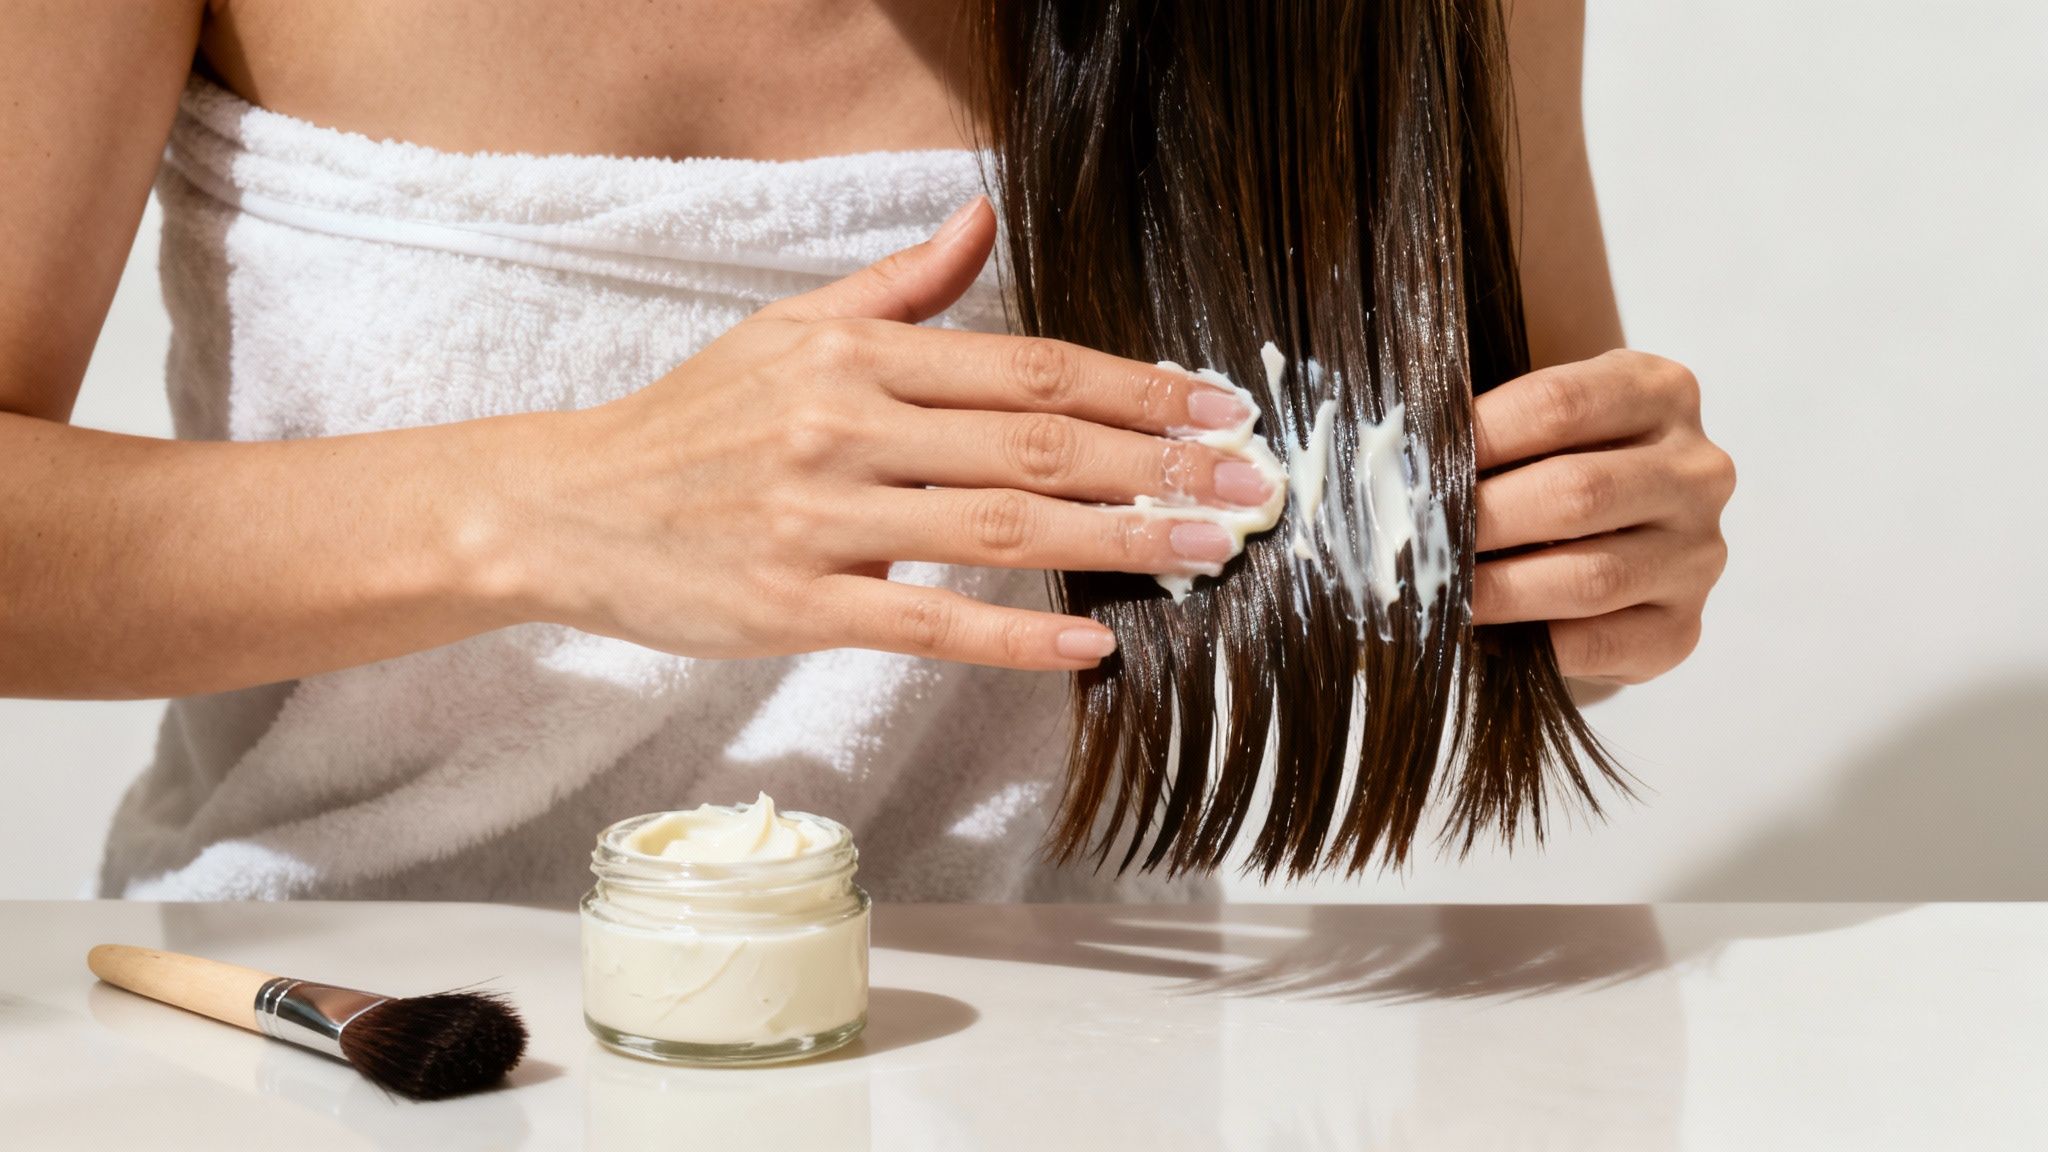
Right after a trim is the absolute best time for a deep conditioning treatment or a rich hair mask. Your hair just went through a bit of a stressful experience, and the ends are freshly exposed. Applying a nourishing treatment immediately helps fortify them, making them way more resilient against future damage.
This isn’t just about making your hair feel soft, either. It’s a strategic move. A deep conditioner replenishes any moisture lost while you were working on your hair, smooths down the cuticle, and helps prevent the kind of fraying that eventually becomes split ends. If you make this a regular habit, you can seriously extend the life of your trim.
Now that you’ve got those clean, healthy ends, the last thing you want to do is fry them with harsh styling. Protecting your hair is just as vital as trimming it. It really just comes down to being more mindful every time you pick up a blow-dryer or flat iron.
Here are a few practices that make all the difference:
A great trim reveals your hair's potential; great aftercare is what helps it reach it. By sealing your ends with moisture and protecting them from heat, you’re not just styling—you’re preserving the health and sharpness of your cut.
These simple adjustments can keep that crisp, "just-cut" look going for weeks longer. If you want to really get into treatments, our guide on how to deep condition hair at home has even more great tips for hydration and strength. By pairing a good trim with thoughtful aftercare, you're setting your hair up for success.
Knowing how to trim your own hair is only half the battle. To take your at-home haircut from "good enough" to genuinely great, you need the right products for prep and aftercare. The right formulas protect your hair, make it easier to manage, and give you that polished, just-left-the-salon look.
Let's walk through a few Morfose essentials that will support your hair at every stage of the trim.
Before you even think about picking up the scissors, you need a smooth, detangled canvas. Trying to cut through knots is a recipe for uneven lines and accidental snips you'll regret later. This is where a quality leave-in conditioner comes in. A few spritzes of a lightweight detangling spray will melt away tangles and soften your strands, letting your comb glide right through. This simple step is key to creating the clean, precise sections you need for an accurate cut.
Your newly trimmed ends are fresh, but they're also at their most vulnerable. This is the perfect moment to lock in some serious moisture and nutrients to keep future split ends at bay.
Treat your hair to a deep conditioning treatment like a rich hair mask for a dose of intense nourishment. A quality mask helps seal the hair cuticle, reinforcing the strength of your ends from the inside out. And if you plan on heat styling, a heat protectant spray is non-negotiable. With at-home tools getting more popular—cordless haircut kits are now the fastest-growing segment, projected to see a CAGR of 6.5%—protecting your hair from thermal damage is more critical than ever. You can learn more about the rise of the DIY haircut kits market on Future Market Insights.
The moments right after a trim are critical. What you do then—whether it’s applying a deep conditioner or a protective serum—determines how long your cut will look sharp and feel healthy.
A great cut deserves to be shown off with great styling. For shorter styles that need some texture and hold, a flexible hair wax gives you a reworkable finish that never feels stiff or crunchy.
If all-day smoothness and frizz control are what you're after, a solid leave-in conditioner is your best friend. For a product that beautifully tames frizz and detangles without weighing hair down, try adding Morfose Keratin Leave-In Conditioner to your routine for truly manageable, healthy-looking hair.
Even with the best guide in hand, it’s totally normal to have a few last-minute questions before you pick up the scissors. Let's tackle some of the most common concerns I hear, so you can go into your DIY haircut feeling completely confident.
This is a big one, and the honest answer is: it depends on your hair's health and the style you're trying to maintain.
For most people, a good rule of thumb is to aim for a trim every 8 to 12 weeks. This is the sweet spot for keeping your ends healthy and stopping split ends before they travel up the hair shaft.
But, if you're tough on your hair with frequent heat styling or coloring, you'll probably want to do a light "dusting" every 6 to 8 weeks. And for those with shorter, sharper styles? You might find a quick touch-up every 4 to 6 weeks is necessary to keep those lines looking crisp.
Ah, the classic question. The right answer really comes down to your hair type and what you’re trying to achieve with your cut.
My Pro Tip: If you absolutely need the precision of a wet cut, be conservative. If you need to work with your hair's natural shape and texture, dry cutting is non-negotiable.
Hands down, the single most common mistake is chopping off too much hair right at the start. It’s so easy to get a little scissor-happy, but remember, you can't glue hair back on. The golden rule when you're learning how to trim your own hair is simple: start by snipping off less than you think you need. You can always go back and take more.
Another huge error I see is people reaching for those kitchen or craft scissors. Don't do it! They don't slice the hair; they crush the cuticle. That's a surefire way to cause even more split ends down the road. A proper pair of hair shears is a worthy investment.
Keeping your hair healthy between trims is just as important as the cut itself. Give your hair the salon-quality support it deserves with the complete collection from Morfose.
Discover the perfect products to nourish and protect your hair at themorfose.com
