Flash Sale 70% Off
Give customers details about the banner image(s) or content on the template.
Are You One of Our Winners?

Think your flat iron is only for getting sleek, pin-straight hair? Think again. Your secret weapon for creating gorgeous, long-lasting curls is probably already sitting on your bathroom counter, waiting to be discovered.
It’s true. The simple motion of clamping a section of hair, twisting the flat iron 180 degrees, and gliding it down to the ends is all it takes to transform your look. This one versatile technique can create everything from relaxed, beachy waves to bouncy, defined ringlets, making your straightener the most valuable tool in your styling kit.
Forget everything you thought you knew about flat irons. They’re not one-trick ponies for sleek styles. In fact, your straightener might just be the most versatile tool in your arsenal for creating natural-looking, long-lasting curls that hold their shape all day.
Unlike a traditional curling wand, which often produces the same uniform spiral with every pass, a straightener puts you in complete control. You decide the shape, the tension, and the final look of each and every curl, allowing for endless creativity.
This is exactly why so many professional stylists reach for a flat iron first. You can craft countless different looks with one tool. A quick flick of the wrist? You’ve got a perfectly undone beachy wave. A full rotation and a slow glide? Hello, bouncy, voluminous curls.
So, why grab a straightener when you have a curling iron right there? Once you get the hang of it, the advantages are pretty clear.
Pro Tip: The key to perfect curls is a smooth, continuous gliding motion. If you stop moving or go too slowly, you’ll end up with awkward creases or, worse, heat damage. Keep the iron moving at a steady pace for flawless results!
With the right technique and a little protection for your hair, you can absolutely get professional results at home. But first, you need a good foundation. A nourishing leave-in spray like the Morfose Milk Therapy Two Phase Conditioner prepares your hair for the heat, ensuring it stays healthy and strong.
Let's walk through the steps to turn that flat iron into your new favorite curling tool.
Amazing curls don’t just happen—they start long before you plug in your flat iron. Proper hair prep is the biggest difference between achieving smooth, long-lasting waves and ending up with a frizzy, frustrating mess that goes limp in an hour.
First things first: always start with completely dry hair. We can't stress this enough. Using a hot flat iron on damp hair is a recipe for disaster. It literally boils the water inside your hair's cuticle, which leads to serious damage and breakage. Make sure every single strand is bone-dry before you begin.
Next, you'll want to create a smooth canvas. Run a brush through your hair to get rid of any knots or tangles. Hitting a snag while you're gliding the iron down a section won't just ruin the curl's shape; it can pull and snap your hair. A smooth, uninterrupted pass is key to getting that perfect, seamless finish.
This is the most critical step, and it's absolutely non-negotiable. Think of a good heat protectant as armor for your hair. It creates a thermal barrier that stops your styling tool from zapping moisture and frying the delicate protein structure of your strands.
But the right product does so much more than just basic protection. The Morfose Milk Therapy Two Phase Conditioner is a favorite because it guards against high temps while also infusing your hair with 12 essential amino acids. These are the building blocks of healthy hair, strengthening it from the inside out and adding a brilliant shine that makes your finished curls pop.
This step is especially vital if you have color-treated hair, which is more vulnerable to heat damage. To learn more about keeping your hair safe, check out our full guide on how to protect hair from heat damage.
Don't make the mistake of just grabbing random chunks of hair and hoping for the best. Taking a moment to section your hair properly is what separates a homemade look from a professional, polished result. It’s all in the details.
Here’s a simple way to get it done:
It might feel like it’s taking longer, but working in small, organized sections is the real secret to getting those even, beautiful curls that last all day. This simple technique prevents you from missing spots and guarantees every strand gets the same amount of attention.
Alright, with your hair prepped and protected, it's time for the fun part: creating those gorgeous curls. This is where you really get to play and find the style that works for you. We're going to walk through three of the most reliable techniques, each one giving you a totally different vibe.
The biggest secret to any of these? A smooth, continuous motion. If you hesitate or stop mid-way through a section, you'll get those awkward clamp marks and creases. It takes a little practice, but soon the movement will feel like second nature.
First things first, let's make sure you've got the foundation right.
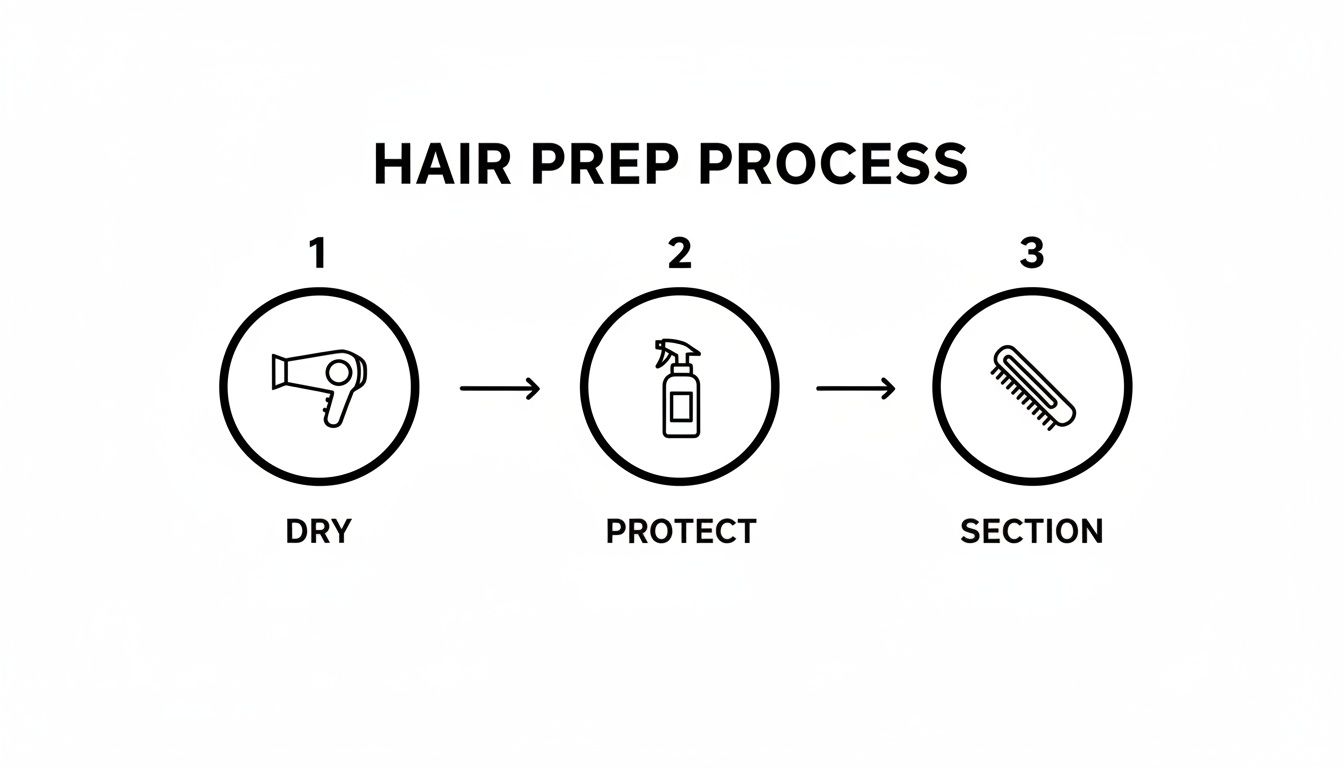
This quick visual is a great reminder that amazing curls start long before the iron even heats up. Getting your hair ready makes all the difference.
This is the go-to technique for those timeless, bouncy curls you see everywhere. It’s incredibly versatile and looks amazing on just about every hair length and type.
If you're after that perfectly imperfect, "just back from the beach" look, the S-wave is your new best friend. Instead of a classic spiral, this method creates a soft, undulating pattern that looks incredibly natural.
Pro Tip: For a more natural and less uniform style, try varying the size of your sections and the direction of your S-bends. This little trick adds tons of dimension and keeps the look from feeling too polished or "done."
When you need tighter, more defined spiral curls, the ribbon technique is a game-changer. The motion is exactly like curling a ribbon with a pair of scissors—it’s that simple. This method gives you beautiful definition and is perfect for a special occasion or for blending in with naturally curly hair.
Remember, a clean tool is absolutely essential for a smooth glide. If you notice your straightener snagging or see product buildup on the plates, it might be time to learn how to clean a hair straightener the right way. A clean iron performs better and is much healthier for your hair.
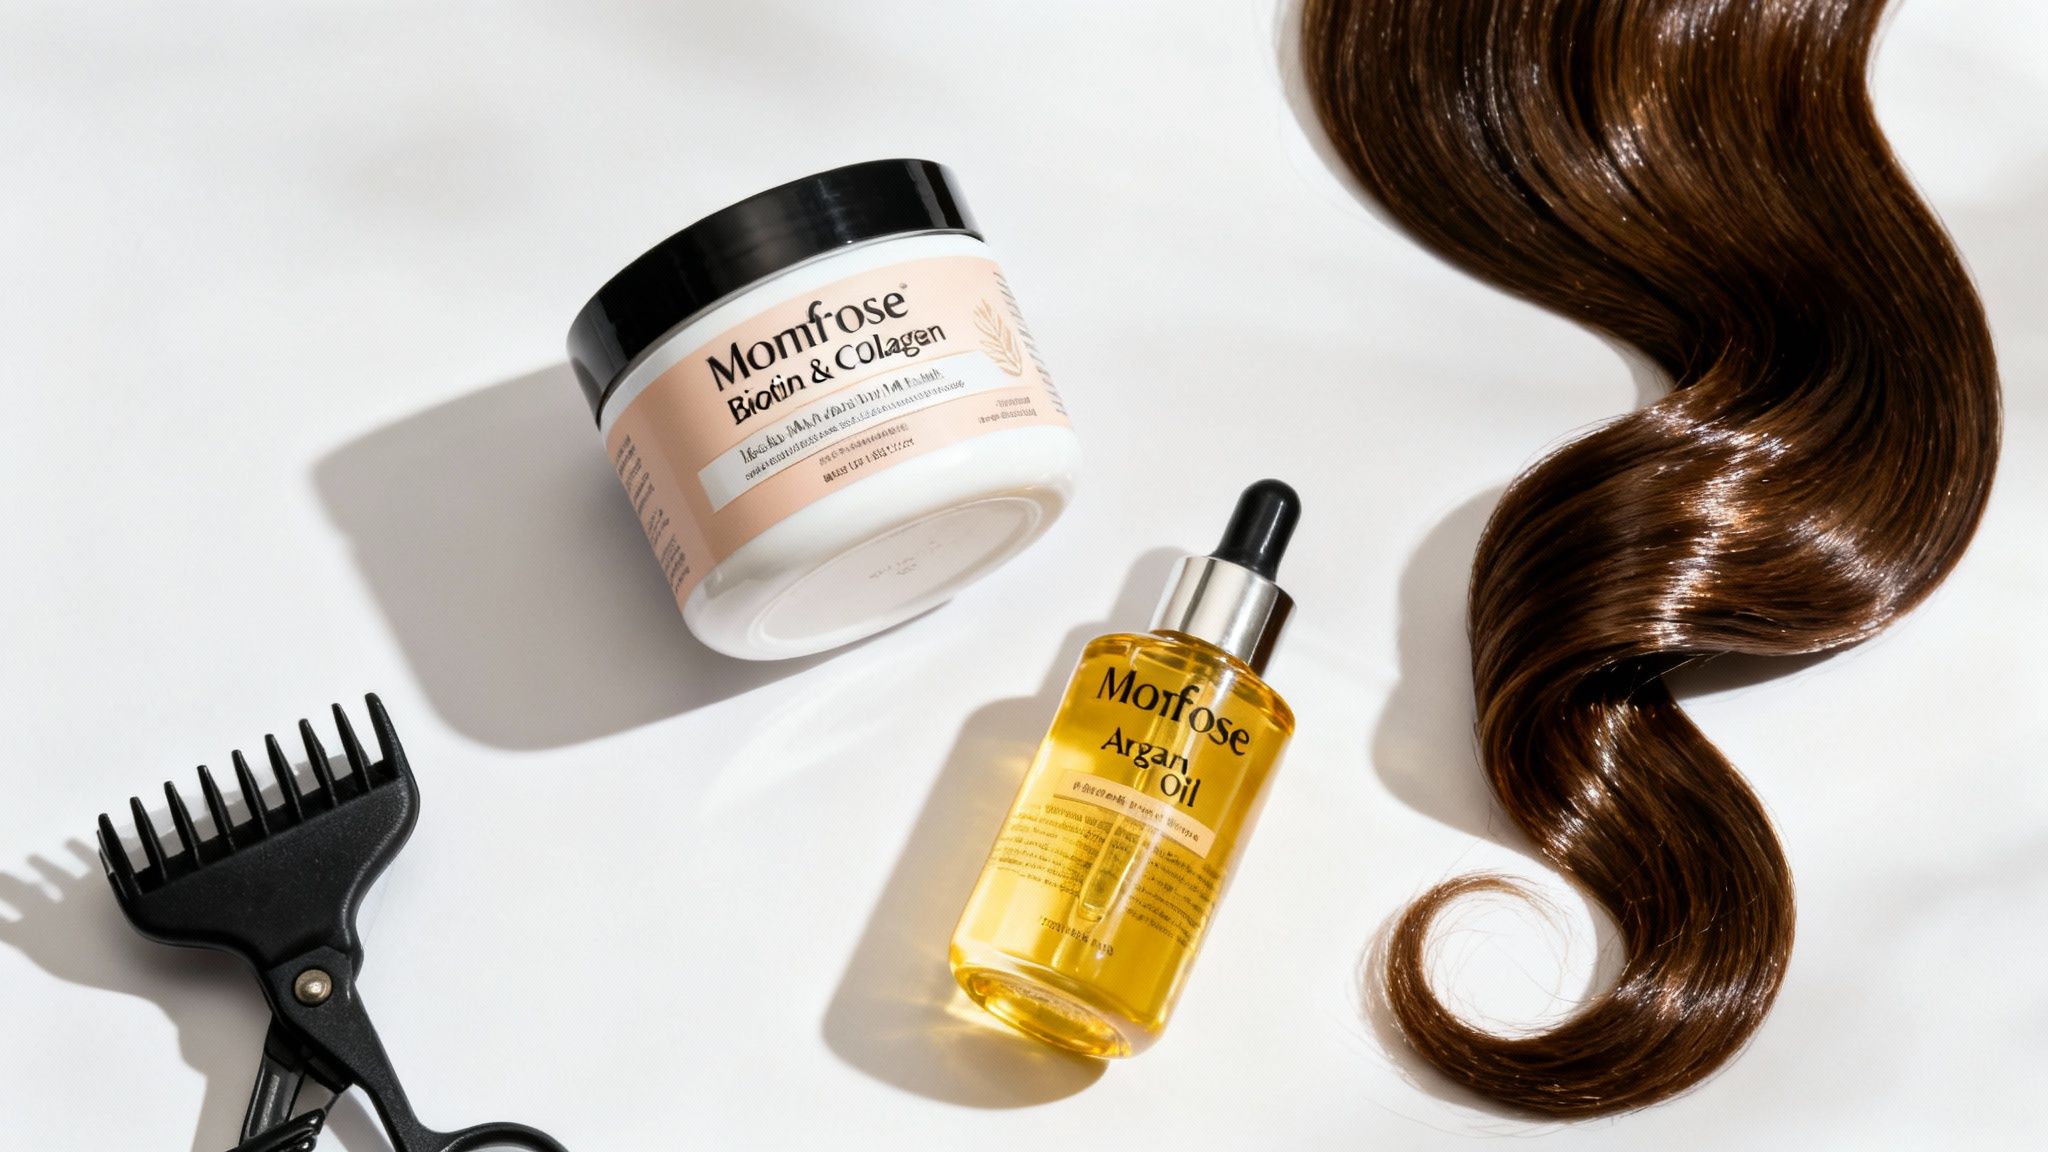
Mastering the curling technique is a huge win, but it’s really only half the battle. The right products are what elevate your style from good to great, giving you curls that are not just beautiful but also healthy, shiny, and full of life. Using products that reinforce your hair’s natural structure is the secret to preventing damage while getting that perfect, polished finish.
The absolute best way to protect your hair is to strengthen it from the inside out before you even plug in your straightener. Starting with a strong, resilient canvas makes a world of difference in how your hair withstands high temperatures.
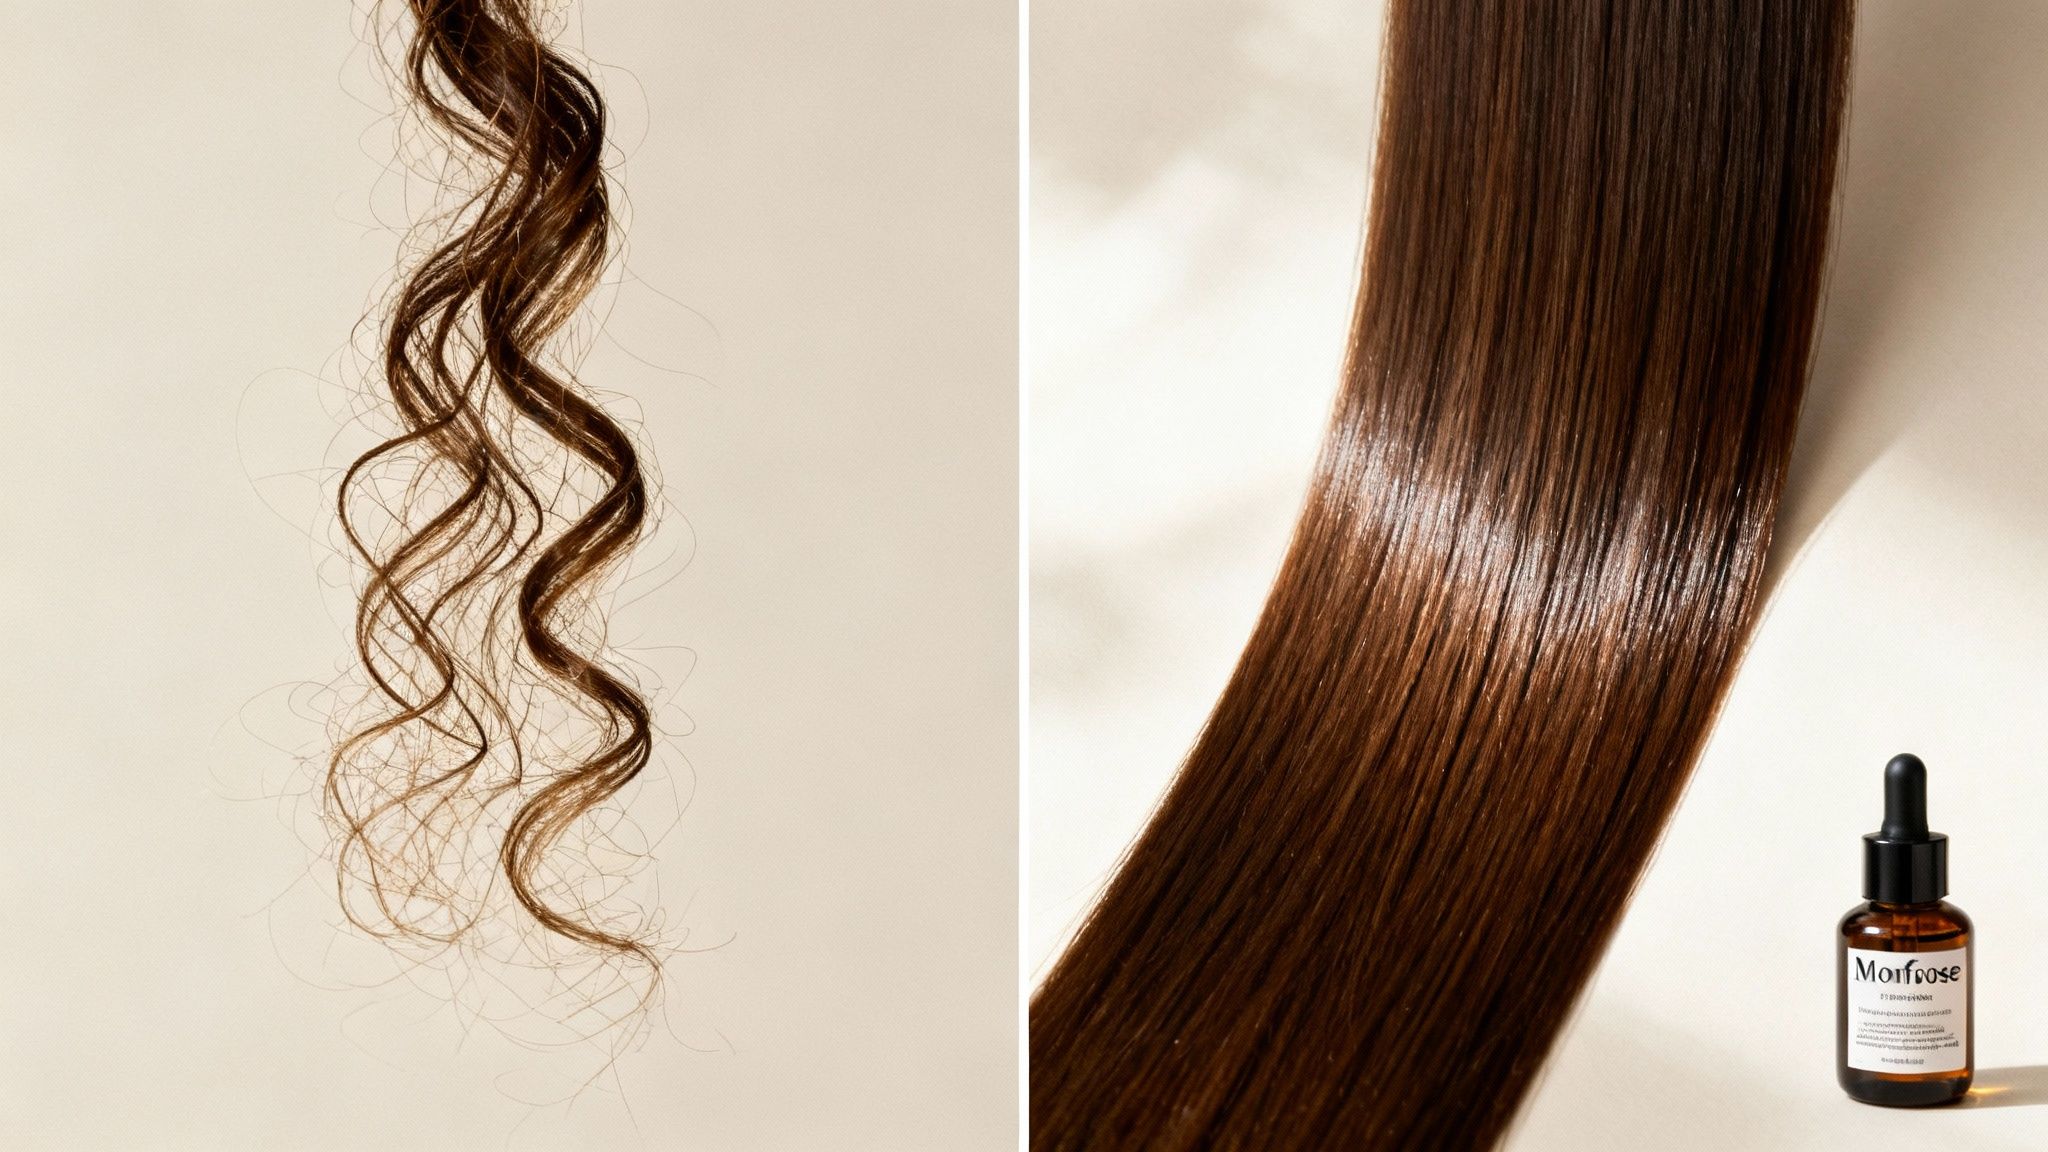
Once your curls are set and have completely cooled, the final touches are what truly make them pop. This is your chance to tame any frizz, boost glossy shine, and give your style a soft, touchable hold that lasts all day without feeling stiff.
The goal is to solve styling issues before they start. A nourishing heat protectant prevents damage, and a finishing serum ensures a frizz-free, glossy result. It’s a complete system for beautiful, healthy curls.
Even with the best tutorials, you might hit a few snags when you're first learning how to curl your hair with a flat iron. A curl that goes limp in five minutes or a weird-looking kink can be super frustrating, but don't give up! Every common problem has a surprisingly simple fix.
There’s nothing worse than spending time curling your hair, only to watch it go limp an hour later. This almost always comes down to one of two things: your hair was still warm when you let the curl go, or you didn't have the right product foundation.
Are your curls coming out with strange, angular dents? That's a classic sign that your pressure isn't even or your gliding motion is hesitant. The secret is a smooth, fluid pass from root to tip.
It's a lot like ironing a shirt; if you stop the iron in one spot, you'll get a mark. The same idea applies here. Keep the tool moving for a seamless, beautiful result.
Sometimes, your curls might end up tighter than you wanted—more Shirley Temple than soft beach waves. Don't panic! This is one of the easiest things to fix.
Many of these common issues are easy to avoid once you know what to look for. You can learn more by reading about these 7 common hair styling mistakes that cause split ends in our detailed guide.
Let's pull it all together into a quick-reference guide. Getting those flawless, salon-level waves at home is totally achievable with a little practice and the right approach.
Remember these core principles, and you'll be creating beautiful, healthy-looking curls with your straightener in no time.
Perfecting this skill is a journey, not a race. If your first few tries aren't exactly what you pictured, don’t get discouraged. Consistency and using the right tools will get you there.
With these tips and the right Morfose products, you're all set to create amazing styles. You can learn more about how our Morfose Anti-Frizz Hair Serum creates a silky, radiant finish.
Still have a few things you're wondering about? Let's tackle some of the most common questions that pop up when you're learning to curl your hair with a flat iron.
This is the number one frustration we hear, and it almost always comes down to heat and hold. Your hair is still pliable when it's hot. If you just let a freshly made curl drop, gravity will start pulling it straight immediately. The trick is to let it cool down in that curled shape. As soon as you release a curl from the iron, gently cup it in your palm for about 5-10 seconds. For hair that's really stubborn, pin the curl against your scalp and let it cool completely before taking it down.
Absolutely not. Using any hot tool on hair that isn't completely dry is a recipe for disaster. You’re essentially boiling the water trapped inside the hair shaft, which causes the outer layer—the cuticle—to swell and break. That sizzling sound is a cry for help! Before you plug in your flat iron, make sure your hair is 100% dry. It's the single most important rule for preventing serious damage.
The dreaded clamp mark usually happens for one of two reasons: you’re either stopping the iron mid-curl or clamping down way too hard. The key to a flawless, smooth curl is continuous motion. Once you start gliding the iron down the hair shaft, don't stop until you reach the ends. Your grip should be firm enough to hold the hair, but gentle enough to let it slide through without friction. A smooth, steady glide is the goal.
A little insider tip: The best straighteners for curling have plates with rounded or beveled edges. This design lets your hair flow smoothly around the barrel without snagging, which is absolutely essential for creating those seamless, dent-free curls and waves.
Ready to give your hair the protection and nourishment it deserves while you perfect your style? Morfose has you covered with everything from professional-grade heat protectants to silky finishing serums. Check out the full collection and find your new go-to products at https://themorfose.com.
