Flash Sale 70% Off
Give customers details about the banner image(s) or content on the template.
Are You One of Our Winners?

Learning how to curl hair with a curling iron isn't just about wrapping and releasing; it's a three-part process of preparation, technique, and finishing. Once you master how to properly section, wrap, and set your hair, that simple tool becomes your secret weapon for creating gorgeous, long-lasting styles right from home. This guide will walk you through the essential steps to achieve salon-worthy curls that last.
Welcome to the ultimate guide for making your curling iron work for you. Whether you're dreaming of soft, beachy waves or full, bouncy ringlets, your approach makes all the difference. We're going beyond the basics to share the same techniques professionals use to get flawless curls that actually last—all while keeping your hair healthy.
We'll walk through everything from picking the right barrel size for your hair type to the final spritz of hairspray that locks it all in. Creating polished and professional hairstyles always starts with a solid foundation. That’s why we’re kicking things off with the most critical—and most often skipped—step of all: prep.
Think of it this way: you wouldn't build a house on a shaky foundation, right? The same logic applies to your hair. Skipping the prep work is a fast track to frizz, heat damage, and curls that fall completely flat before you've even left the house.
A solid prep routine does a few key things:
Before you plug in your curling iron, let's talk about what really creates those incredible, long-lasting curls. It all starts with the prep. Getting the foundation right—choosing the perfect tool and prepping your hair properly—is the secret weapon for a style that not only looks amazing but also holds its shape all day long.
Think of choosing a curling iron like picking the right paintbrush; the size of the barrel completely dictates the final look. A smaller barrel will give you tight, defined curls, while a larger one is your ticket to looser, more relaxed waves.
"What size barrel should I use?" It comes down to your hair length and the vibe you're going for. Here's a quick guide to help you pick the right tool for the job.
| Barrel Size (Inches) | Resulting Curl Type | Best For Hair Length |
|---|---|---|
| ½-inch to ¾-inch | Tight ringlets, defined corkscrew curls | Shorter hair (bobs, pixies) |
| 1-inch | Classic, defined, versatile curls | Almost any hair length |
| 1.25-inch | Softer, bouncier, voluminous curls, "lived-in" waves | Medium to long hair |
| 1.5-inch and Larger | Subtle beachy waves, soft bends, blown-out look | Very long hair |
A 1-inch barrel is the universal go-to for a reason—it’s incredibly versatile. But if you have super long hair and just want some movement, a 1.5-inch barrel will be your best friend.
You've picked your size. Now, let's talk about what the barrel is made of, because it makes a huge difference for your hair's health.
The global curling irons market is set to hit USD 6.81 billion by 2033. But with that popularity comes the very real concern over heat damage. This is why pairing your styling routine with protective products isn't just a good idea; it's essential.
The single most important step you can take before heat styling is applying a protectant. It creates a vital thermal shield between the hot tool and your delicate hair strands, preventing moisture loss and breakage.
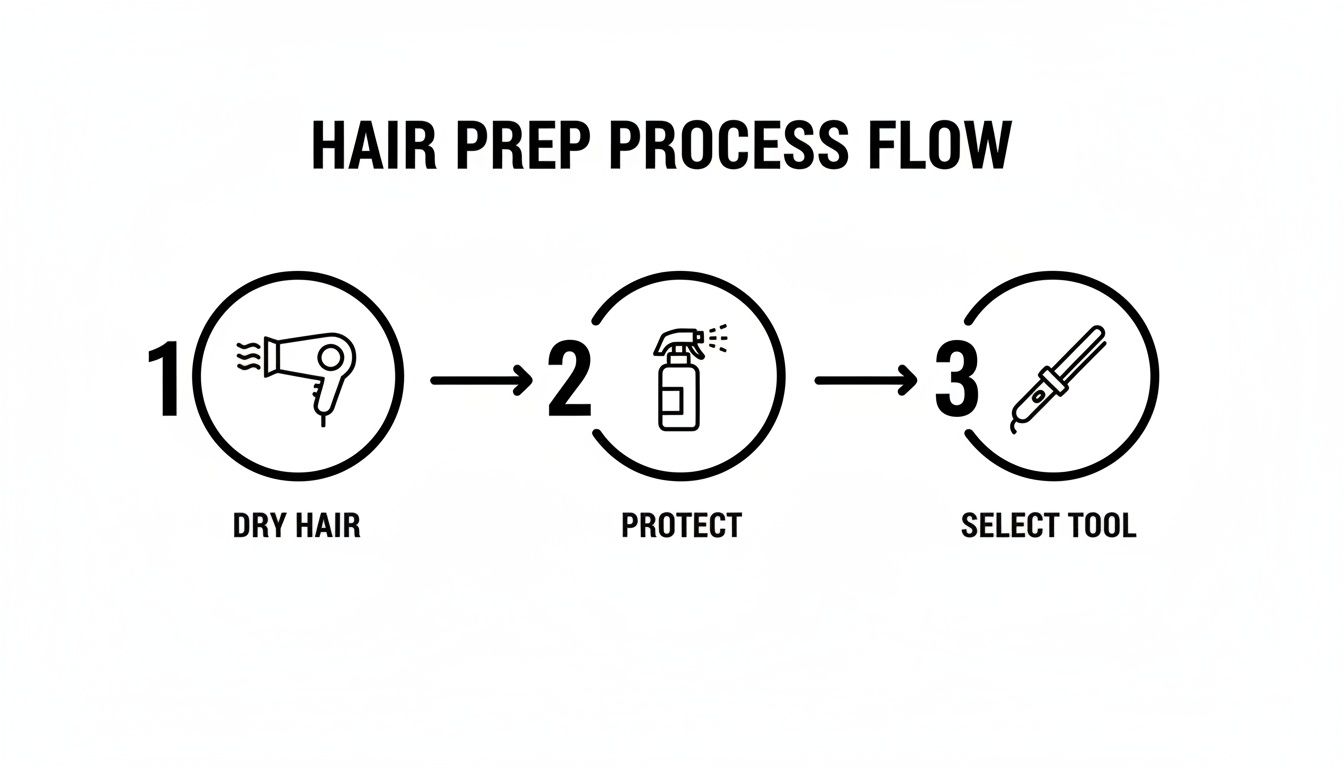
Got your tool? Great. Now it's time to get your hair ready for the heat.
First: always start with 100% dry hair. I can't stress this enough. Using a hot iron on damp hair will literally boil the water inside the hair shaft, causing steam damage and leading to serious breakage.
Next up is your heat protectant. This isn’t an optional spritz; it's a non-negotiable step. For a deep dive into shielding your strands, check out our guide on how to protect hair from heat damage. Mist the product evenly from the mid-lengths to the ends before the iron gets anywhere near it. And for quick touch-ups or a different kind of sleek style, a cordless hair straightener comb can be a handy addition to your toolkit.
Alright, your tools are ready and your hair is prepped. Now for the fun part—actually creating those gorgeous curls. The right technique is what separates so-so results from that professional, salon-fresh finish.
The single most important habit is proper sectioning. Trying to curl big, bulky chunks of hair is a recipe for disaster. You end up with uneven heat, which leaves you with a weird mix of limp strands and overly tight ringlets. Instead, divide your hair into clean, manageable sections about 1 to 2 inches wide. This guarantees every single strand gets equal time with the iron, which is the secret to a polished, uniform look.
As you can see, great styling begins long before the iron heats up. Starting with completely dry, protected hair is what sets you up for flawless curls every time.
How you wrap your hair around the barrel dictates the final shape of your curls. There are two main methods that create distinct styles.
It's amazing to think that 55% of women aged 18-34 use curling irons every single week. But that frequent heat can do a number on your hair. Without proper protection, a single session can strip away up to 30% of your hair's essential moisture. That's why prepping with a quality heat protectant is non-negotiable.
The direction you curl your hair makes a huge difference. For the most flattering effect, always curl the sections around your face away from it. It opens everything up beautifully. Once you get past your cheekbones, you can start alternating the direction—one curl toward your face, the next one away. This simple trick adds dimension and movement.
Just as important is how long you hold the hair on the iron. This depends on your hair's unique texture and thickness.
Pro Tip: Never hold your hair on the iron for more than 12 seconds. It's much better to use the correct temperature for a shorter time than it is to use low heat for a long time. The latter just dries out the hair without setting the curl effectively.
Using the right temperature is key to getting a style that lasts while protecting your hair's health. Too low, and your curls will be gone in an hour. Too high, and you risk irreversible heat damage. Figuring out what hair type you have is the first step to dialing in that perfect temperature.
Here’s a simple heat guide:
Always start on the lower end of your range and only bump it up if your curls aren't holding. The ultimate secret: once you release a section, gently cup the warm curl in your palm for a few seconds. Letting it cool completely in that coiled shape gives it all-day hold.
Creating perfect, bouncy curls is only half the battle. The other, more important, part is keeping your hair healthy. This is where a smart product lineup moves you from simply styling your hair to actually caring for it. Morfose products create a complete system that shields, nourishes, and locks in your look.
Before your curling iron heats up, your hair needs a solid line of defense. High heat strips moisture, leaving hair brittle and prone to snapping. That’s why a good heat protectant isn't optional—it's essential.
The Morfose Milk Therapy Two Phase Conditioner is the perfect place to start. Think of it as a protective leave-in treatment that gets your hair ready. It’s formulated with milk proteins and 12 amino acids that coat the hair in a lightweight barrier. This shield helps spread heat more evenly, preventing damaging hot spots. Its dual-phase formula also nourishes and detangles, allowing the curling iron to glide right through.
Consistent heat styling without protection is a top cause of split ends and dryness. Making a heat protectant a non-negotiable part of your routine is the single best thing you can do for your hair's long-term health.
If your hair is naturally dry, color-treated, or already stressed, it needs an extra layer of TLC. High temperatures can suck the life out of thirsty strands, leading to frizz and dullness. This is where a pre-styling serum becomes a game-changer.
The Morfose Argan Oil Hair Serum is designed to infuse hair with intense moisture and shine. Argan oil is packed with fatty acids and vitamin E, famous for their ability to restore and repair. Work a tiny amount through your mid-lengths and ends before your heat protectant. This deeply hydrates, making hair more flexible and less likely to break, while also sealing the cuticle to fight frizz and add a beautiful, healthy shine.
You've spent all that time perfecting every curl—now you need to make sure your work doesn't fall flat. The goal is a hairspray with serious hold that doesn’t leave your hair feeling crunchy or stiff.
Morfose Pro Hair Spray Extra Strong was engineered to provide maximum hold while feeling surprisingly lightweight. It locks your style in place, fighting off humidity and gravity to keep your curls defined and bouncy all day long. A light, even mist from about 12 inches away is all it takes to set your look. By using these products, you can confidently curl your hair knowing you’re protecting it. For more options, check out our complete collection of powerful heat protection sprays.
The moments right after you turn off the heat truly define your final style. Mastering the finishing touches elevates your curls from simply styled to professionally polished.
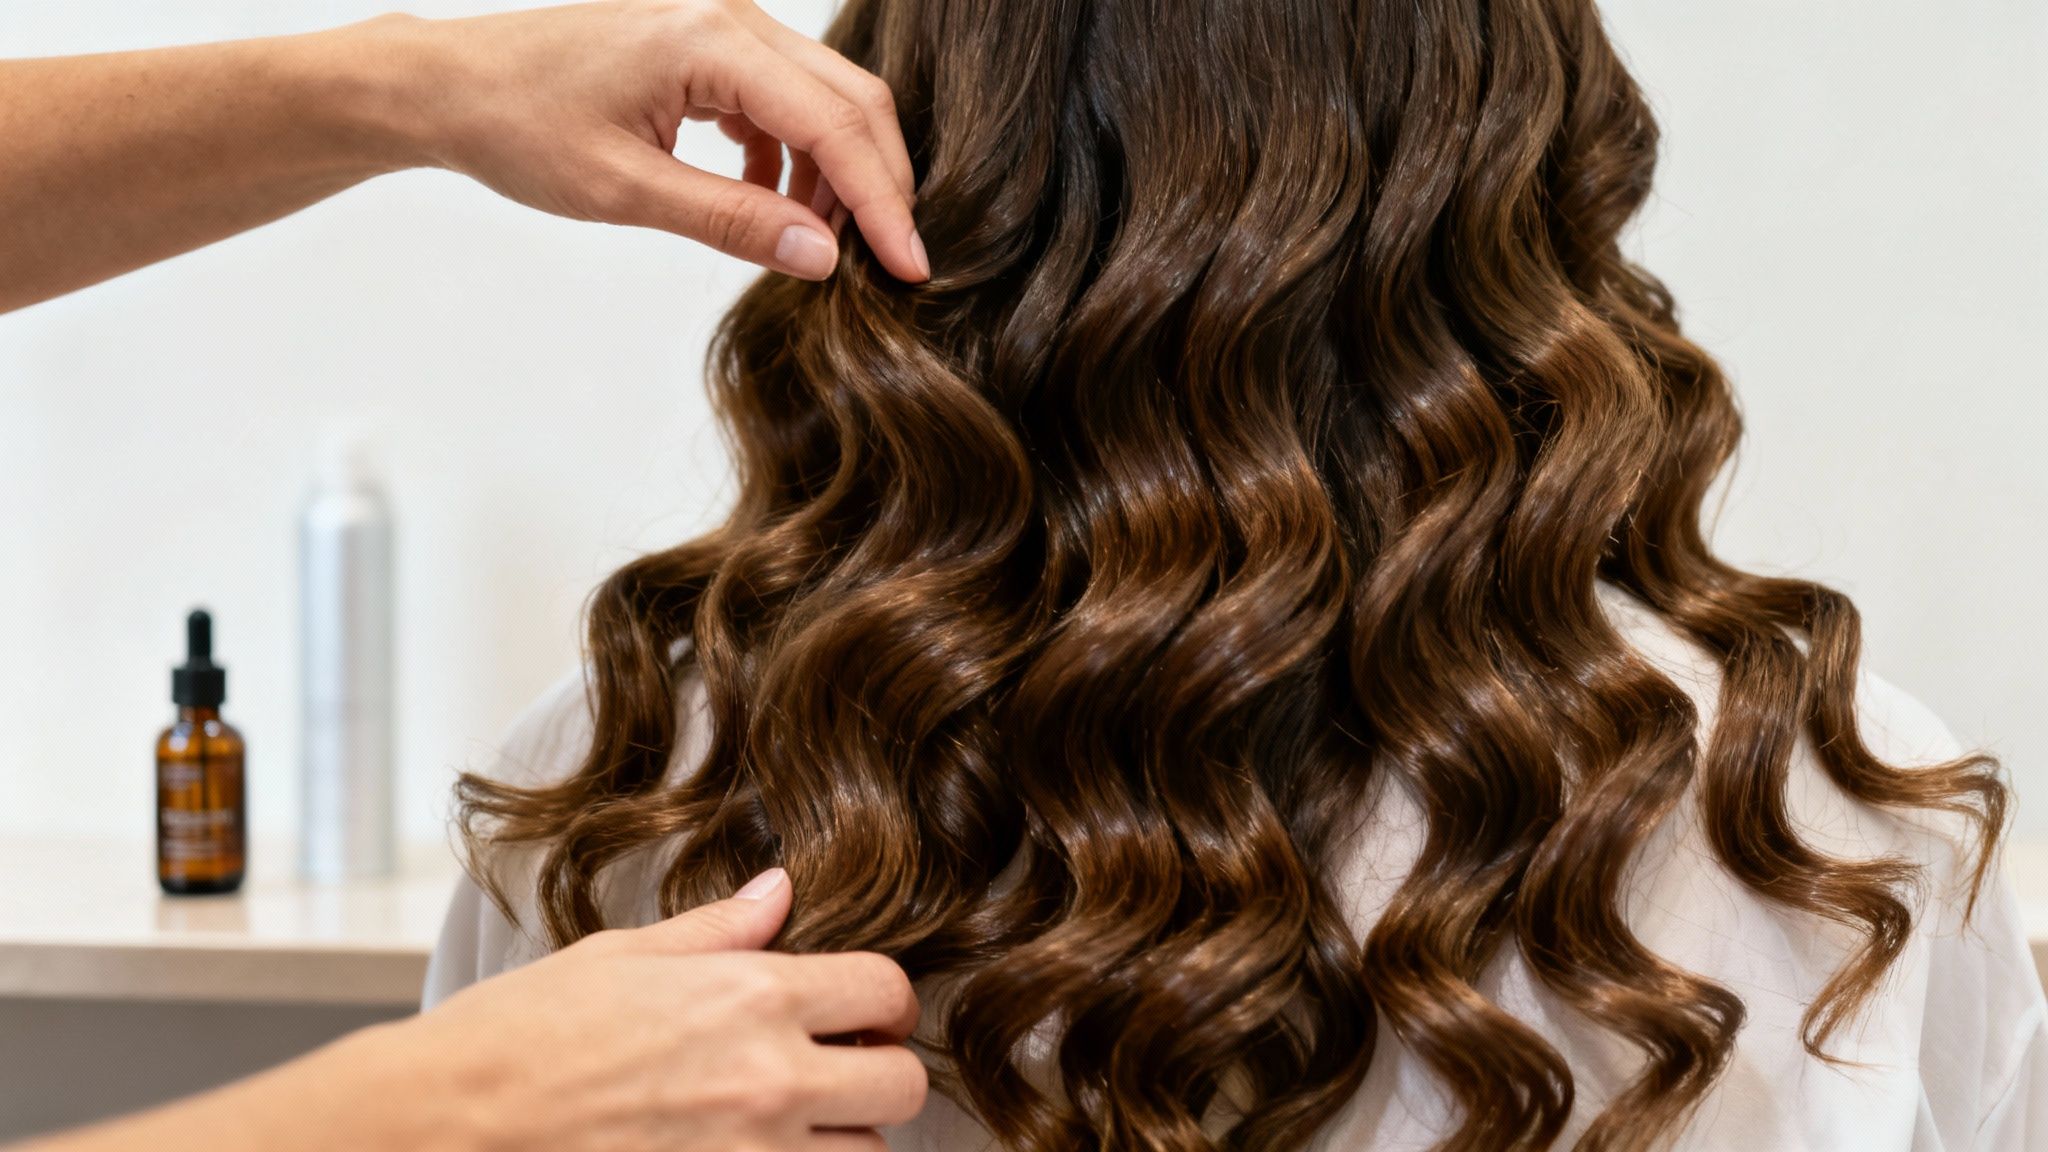
If you remember one thing, make it the cool-down rule. Freshly formed curls are malleable and will lose their shape if you touch them too soon. Let them cool completely—either by letting them hang or pinning them to your head—to lock in the style. This step is non-negotiable. Once cool, gently run your fingers through your hair to break them up.
Even with perfect technique, you might run into a few issues. Here are simple fixes for perfecting how to curl hair with a curling iron.
A great trick for added longevity is to finish with a light mist of a flexible-hold hairspray. Hold the can about 12 inches away from your head and spray evenly. This will provide hold without making your curls feel stiff or crunchy.
If you're working with color-treated or dry hair, taking extra precautions is crucial. Heat can accelerate color fading and worsen existing damage.
Data shows that while 80% of users may mishandle heat tools, using irons with vitamin-coated barrels can cut potential damage by 40%. For color-safe curling, always start with a high-quality protectant. Divide your hair into four sections and glide 1-inch strands through the iron at 360°F, holding for no more than 10 seconds. Pinning each curl for 5 minutes as it cools is the best way to lock in waves that last.
For those with dry hair, a pre-styling treatment can help rebuild strength. If you're struggling with flyaways, find more solutions in our guide on how to get rid of frizzy hair.
Let's clear up some of the most common questions so you can style your hair with total confidence.
There's no single magic number; it depends on your hair's health and how well you protect it. As a general guideline, give your hair a break from heat for a few days each week. If you use an iron more than two or three times a week, you need to use restorative treatments to balance things out.
A deeply nourishing hair mask is a great way to counteract heat. The Morfose Milk Therapy Creamy Milk Hair Mask is perfect for this—it conditions on a deeper level to help repair damage from the inside out.
This is a common frustration, but it's almost always fixable. It usually boils down to one of these things:
This is a hard and fast no. Never. Applying a hot iron to damp hair instantly boils the water inside the hair shaft, causing "steam damage." This leads to major breakage and frizz. Your hair must be 100% dry before a hot tool gets near it.
That sizzling sound you hear when an iron hits damp hair? That's the sound of your hair being fried. Think of your dry hair as the perfect canvas—you wouldn't start painting on a wet one.
They look similar, but they create very different styles.
A curling iron has a spring-loaded clamp that holds the ends of your hair in place. This gives you more control and creates a polished, uniform, and bouncy curl.
A curling wand, on the other hand, has no clamp. You manually wrap your hair around the barrel, leaving the ends out. This method is what gives you looser, more modern, and natural-looking waves.
