Flash Sale 70% Off
Give customers details about the banner image(s) or content on the template.
Are You One of Our Winners?

That heart-stopping moment when you spot a dark smudge of hair dye along your hairline or on your ear? We’ve all been there. Getting hair dye on your skin is a common part of coloring your hair at home, but the good news is, removing it is easier than you think. With the right techniques and a little speed, you can wipe away those tell-tale stains without irritating your skin.
This guide will walk you through everything you need to know, from tackling fresh stains immediately to dealing with stubborn marks that have already set. We'll cover gentle, effective methods using ingredients you probably already have, explain how to protect your skin from irritation, and show you how a little prep work can prevent stains from happening in the first place.
Think of a fresh dye stain on your skin like a coffee spill on your favorite white shirt. If you tackle it right away, it’s a minor inconvenience. But if you let it sit? It becomes a whole different battle.
The pigments in hair dye are literally designed to penetrate and stain whatever they touch, and your skin is a surprisingly porous canvas. Acting within those first few minutes is often the difference between a 30-second fix and a mark that lingers for days.
The single most effective strategy for dealing with a hair dye stain is moving quickly. A gentle, immediate cleanse will always beat aggressive scrubbing on a stain that’s already set in.
Before you even think about reaching for something harsh, start with the simplest and kindest options for your skin. These two methods are incredibly effective when the dye is still wet.
We’ve all been in a hurry and ended up with a tell-tale "halo" of color. To help you handle this common mishap, here's a quick rundown of your best first-response options.
| Method | Best For | How to Apply | Effectiveness |
|---|---|---|---|
| Soap & Water | Any skin type, especially for larger smudges on the neck or hands. | Lather a gentle soap with warm water on a washcloth. Massage in circles. | Very High on wet stains. |
| Micellar Water | Sensitive or facial skin. Ideal for the delicate hairline and around the eyes. | Soak a cotton pad and gently wipe the stain away. No rinsing needed. | High for lifting fresh pigment without any scrubbing. |
Remember, the goal is to lift the stain, not punish your skin. Starting with one of these gentle methods almost always does the trick if you're quick enough.
Dealing with little messes is just part of the coloring process. For more expert tips to get your hair routine down to a science, check out our full collection of how-to guides.
We’ve all been there. You finish your dye job, clean up, and a day later, you spot a dark smudge along your hairline that you somehow missed. When a hair dye stain has had time to dry and set, a simple soap-and-water scrub just isn't going to cut it.
For these more stubborn marks, you need methods with a bit more lifting power—but that doesn't mean resorting to harsh, irritating chemicals. The best solutions are probably already in your kitchen or bathroom cabinet, waiting to save the day. The trick isn't about aggressive scrubbing; it's about using the right ingredients to gently break down the dye pigment without punishing your skin.
This little flowchart is a great starting point for figuring out your first move.
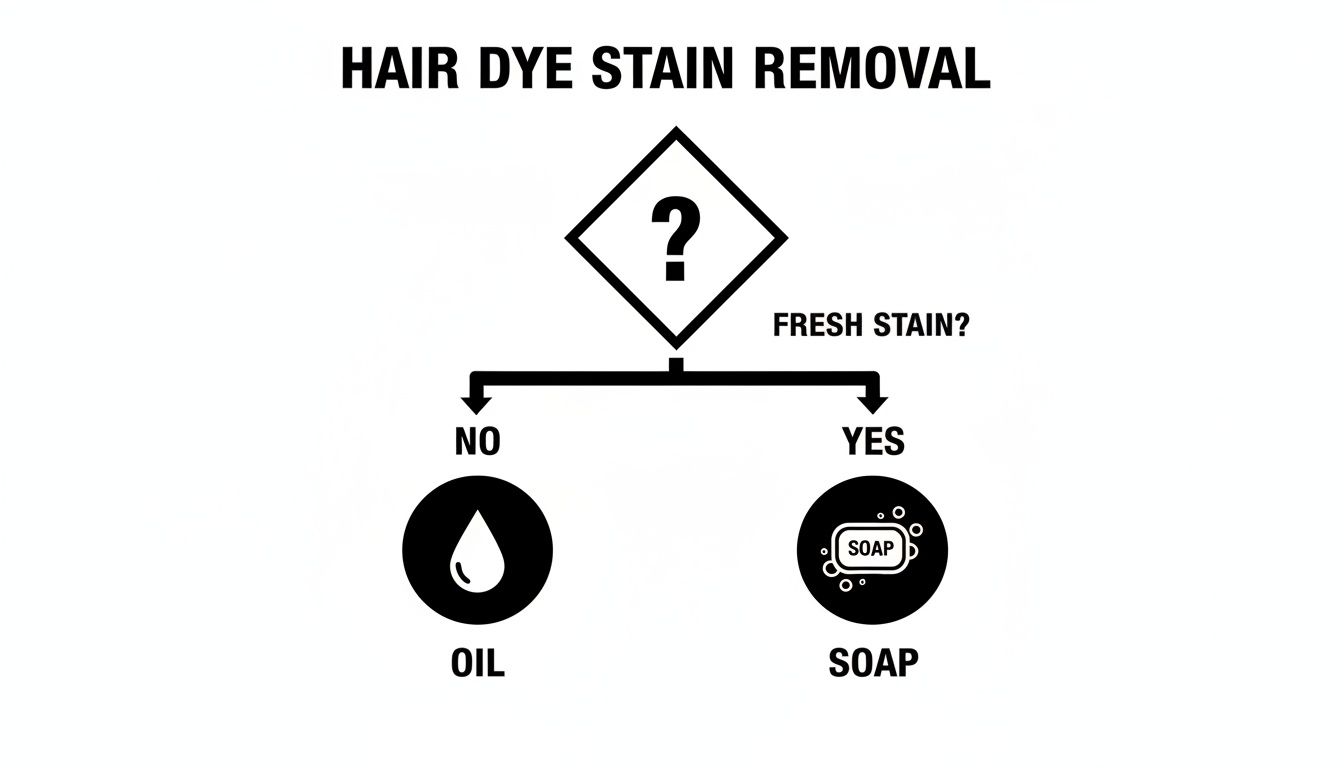
As you can see, when a stain has already settled in, oil-based solutions are your best friend.
One of the oldest tricks in the book for how to remove hair dye from skin is based on a simple chemistry principle: "like dissolves like." Most hair dyes contain oils, so applying another oil can essentially wake up the pigment and lift it right off your skin without causing redness or irritation.
If the oil trick doesn't quite get you there, some stains just need a little extra persuasion. A mild abrasive can help exfoliate the very top layer of stained skin cells. The key here is to gently buff, not scrub your skin raw.
A simple baking soda paste is perfect for this.
Just mix equal parts baking soda and a gentle liquid soap (or even just water) until you have a thick paste. Apply it to the stain and use your fingers to rub it in a soft, circular motion for a minute or so, then rinse well with warm water. The baking soda provides just enough exfoliation to lift the dye without being harsh.
Pro Tip: Always do a quick patch test before putting any new mixture on your face or other sensitive skin. Dab a small amount on your inner arm and wait 15 minutes to make sure you don't have a reaction.
Sometimes the stain ends up in a really delicate place, like right on your earlobe or that tricky spot where your hairline meets your forehead. For these areas, being gentle is the number one priority.
While our focus here is on hair dye, the principles of removing unwanted stuff from your skin are pretty universal. For a different take on a similar challenge, you might find this guide on quick and safe solutions for removing substances from skin helpful.
And of course, natural colorants like henna come with their own unique set of rules. If you're a henna user, be sure to check out our deep dive into how to use henna for hair health.
Getting that last bit of hair dye off your skin feels like a win, but you’re not quite finished yet. Your real final step is making sure your skin is calm and happy. Let's be honest, the chemicals in hair dye are strong—that's how they get the job done! Because of this, your number one goal should be protecting your skin's delicate barrier from irritation, redness, or a full-blown reaction.
This is especially critical for those sensitive spots like your hairline, ears, and neck. Not only do they catch the most dye, but they're also the first to get angry and irritated. It's really important to know the difference between a little temporary redness from rubbing and a genuine allergic reaction. Getting this right is a huge part of a safe at-home coloring experience.
Most of us can use hair dye without any issues, but a small number of people can develop contact dermatitis, which is basically an inflammatory skin reaction. It's often triggered by an ingredient called para-phenylenediamine (PPD), a workhorse in permanent dyes that helps create those rich, lasting colors.
Keep an eye out for symptoms that are more serious than a simple stain:
If you notice any of these, your skin is sending a clear signal that it's not happy. Stop whatever you're doing immediately and wash the area gently with a mild, fragrance-free soap.
The single best thing you can do to avoid a nasty reaction is to perform a patch test 48 hours before you dye your hair. And this isn't just for the dye! It’s also a brilliant idea for any new stain remover you're trying, particularly if you’re using it on your face.
A patch test is easy. Just put a small dab of the product—dye or remover—on a hidden bit of skin, like behind your ear or on the inside of your elbow. Let it sit for the recommended time, wipe it off, and then watch that spot for the next two days. If you see any redness or feel any irritation, that product is not for you.
Allergic contact dermatitis from hair dye is a serious global issue. The lateral forehead and the ear helix are the most commonly affected areas, each accounting for 88.3% of cases in one study of patients with diagnosed hair dye allergies. Find out more about the dermatological effects of hair dye use in this review.
When you're frantically Googling how to get hair dye off your skin, it's easy to get desperate and reach for something you shouldn't. Please, stay away from these. They can cause some serious damage.
If a stain just won’t budge with gentle methods, it's far better to let it fade on its own over a couple of days than to risk hurting your skin. Soothing the area after any removal attempt is also key. For more tips on calming your facial skin, take a look at our guide on the wonders of aloe vera gel for facial care.
Let's be honest, the easiest way to deal with hair dye on your skin is to stop it from getting there in the first place. A few minutes of prep work is the real secret to getting that salon-quality result at home. It saves you from the frantic scrubbing later and lets you focus on what really matters: nailing that perfect color.
The whole idea is to create a physical shield between the dye and your skin.
This simple step ensures that even if you get a little messy, the dye just sits on top of the barrier instead of sinking into your skin. When it's time to rinse, the barrier and the stray dye wash away clean. No drama, no stains.
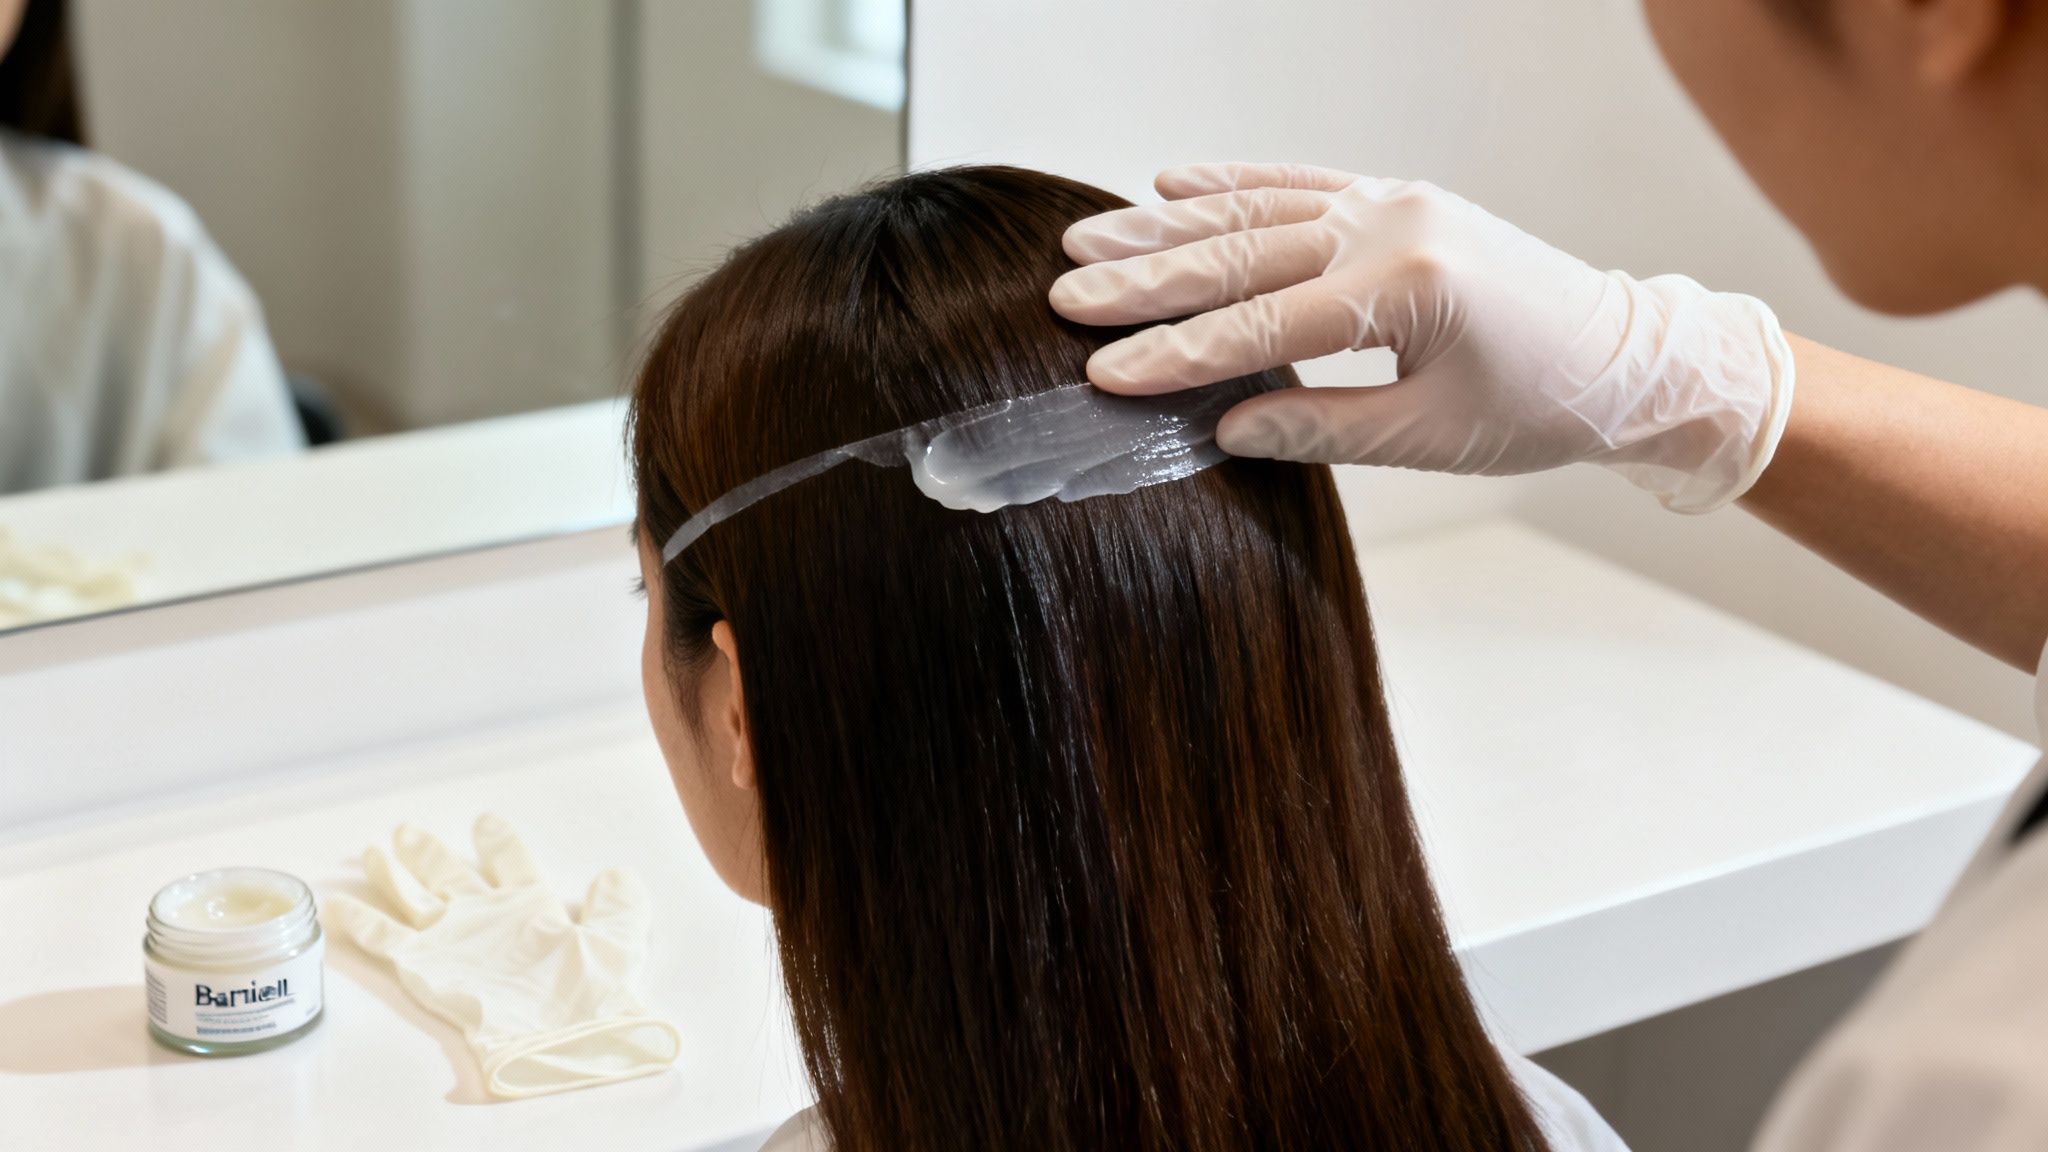
Applying a barrier is a non-negotiable part of my hair dyeing process. You'll want to trace a protective layer along all the areas where dye is most likely to end up. Think of it as creating a non-porous surface that permanent dye just can't penetrate.
I always focus on these key zones for maximum protection:
You don’t need anything fancy for this. A thick layer of petroleum jelly is the classic choice for a reason—it works. A rich, creamy conditioner also does the job beautifully. Just be careful not to get the barrier product in the hair you want to color, as it can block the dye from absorbing properly.
The goal is to create a seamless, water-resistant shield. Take your time applying it. This five-minute step can honestly save you thirty minutes of frustrated scrubbing later.
Besides the skin barrier, a few other pro habits can make your at-home color session so much cleaner and smoother. You need to think like a stylist and set up your station before you even open the dye.
This means having everything you need within arm's reach. Drape an old towel over your shoulders to protect your clothes. Have your cleanup crew—a few damp paper towels or cotton pads—ready to tackle any immediate drips or splatters.
And most importantly, always wear gloves. This is non-negotiable. Protecting your hands is crucial for preventing stains that can last for days. If you have sensitive skin, exploring different types of disposable latex-free gloves is a great way to avoid irritation. Seriously, this simple step will keep your hands and nails completely stain-free.
A great at-home color session doesn't just stop once the dye is rinsed out. The real magic is in the aftercare—keeping that color looking fresh and your skin feeling calm. It’s all connected. When your scalp is healthy and well-moisturized, it’s much more resilient and less likely to get irritated or dry after you color.
This is where your product choices really matter. Using nourishing, sulfate-free formulas is the key to keeping everything in balance. Products made specifically for color-treated hair do more than just save your shade; they give your hair and scalp the backup they need to handle the whole coloring process like a champ.
Think of your scalp as the garden your hair grows from. If it’s in good shape, your hair will be stronger, and your color will pop. That’s the whole idea behind Morfose's dedicated hair care lines. Their formulas are gentle and packed with nutrients to help maintain a happy scalp environment that isn’t stressed out by hair dye.
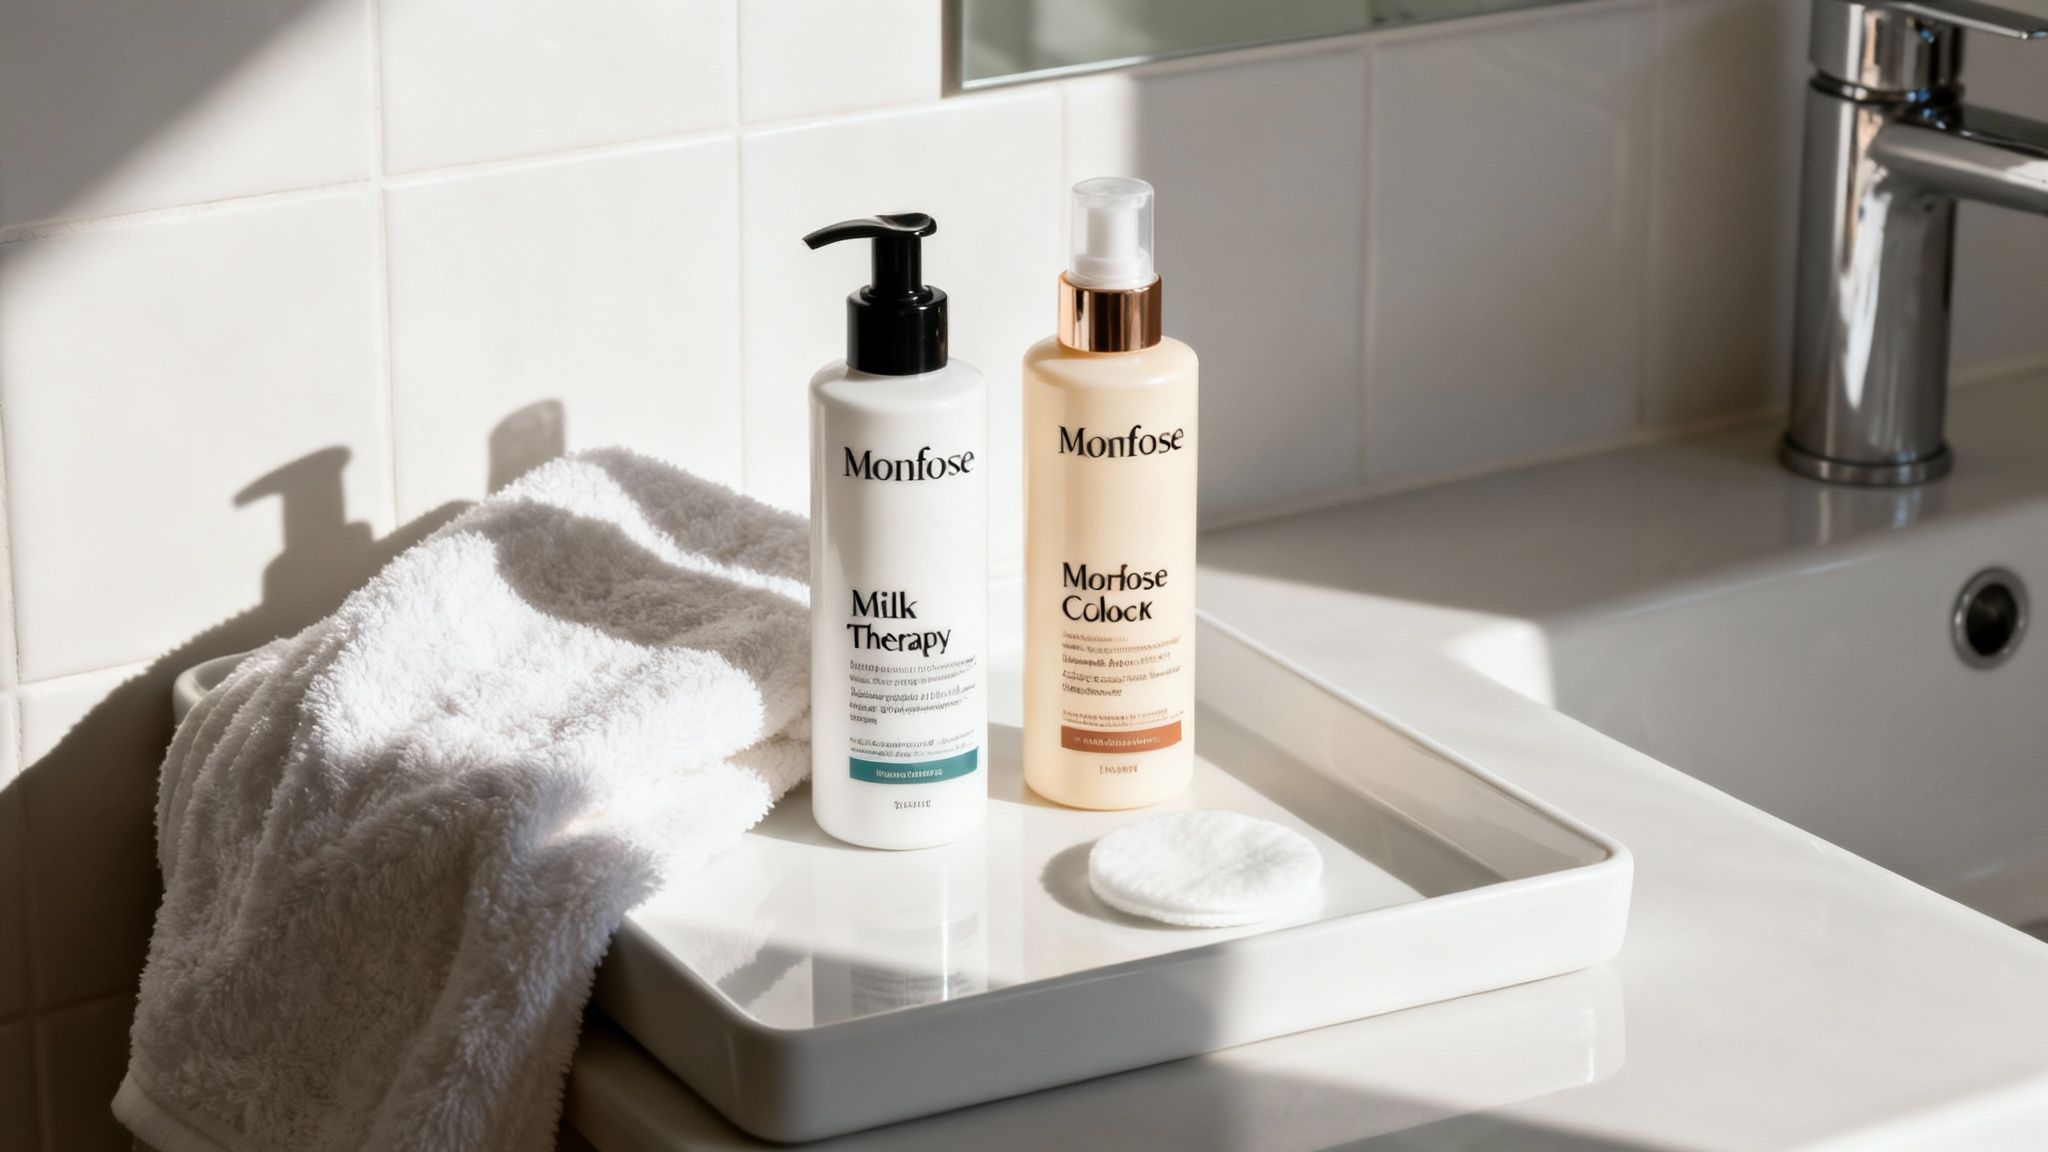
A smart, multi-tasking product can also make your life so much easier. Take the Morfose Milk Therapy Two Phase Conditioner, for instance. It's not just for your ends. You can spritz a little on a cotton pad to gently wipe away fresh dye smudges from your skin. Its conditioning ingredients will help soothe the area right after, so you're treating your skin with the same care you give your hair.
A well-conditioned scalp and hairline are your first line of defense. Keeping this area moisturized and healthy makes it less susceptible to staining and irritation, ensuring a more comfortable coloring process from start to finish.
The global hair color market is set to explode from USD 28.33 billion in 2025 to USD 43.47 billion by 2033. That’s a whole lot of people coloring their hair. With studies showing that 42% of users report some kind of adverse reaction, it’s clear that gentle, supportive aftercare isn’t just a nice-to-have—it's essential. You can dig into the global hair color market trends to see just how big this is.
This is exactly why picking the right shampoo is so important. The Morfose Color Lock Shampoo was created without the harsh sulfates that are notorious for stripping color and the natural oils your hair and scalp need. By sticking to a gentle cleanser, you’re not only protecting your hair's vibrancy but also preventing irritation on the sensitive skin around your hairline.
When your hair care routine supports both your color and your skin, you’ve created the perfect setup for beautiful, long-lasting results. To find what works best for your post-dye needs, check out our full line of products for color-treated hair.
Even with the best game plan, things can go sideways, and you might still have a few questions. That’s totally normal. To make sure you’re ready for anything, we’ve pulled together some of the most common questions people ask when they’re figuring out how to remove hair dye from skin.
Think of this as your go-to guide for those "what if" moments. A little extra knowledge can turn a minor panic into a quick, easy fix.
If you just leave a hair dye stain alone, it’ll probably hang around for a few days up to a week. How long it lingers really depends on a few things.
The great news is you don’t have to wait it out. By using the gentle methods we talked about, you can slash that time dramatically. Most fresh stains will lift completely after just one or two tries.
You'll see rubbing alcohol pop up as a suggestion all the time, but we strongly recommend keeping it away from the delicate skin on your face, neck, and ears. It's incredibly harsh and can strip your skin’s natural protective barrier in seconds.
Using it on your face is a fast track to major redness, irritation, and even dry, flaky patches. For any stains near your hairline or on your face, stick with the much safer oil-based methods or a gentle micellar water.
If you're dealing with a super stubborn spot on your hands and feel like it's your absolute last resort, proceed with extreme caution. Put a tiny amount on a cotton ball, dab it only on the stain, rinse it off immediately with cool water, and slather on a thick moisturizer right after to combat the dryness.
That sinking feeling when a drop of dye lands on your favorite t-shirt is the worst. Just like with your skin, acting fast is everything.
First things first, gently blot the excess dye with a paper towel. Whatever you do, do not rub it! That will just grind the stain deeper into the fabric. If the stain is fresh, a spritz of hairspray or a dab of rubbing alcohol can help break down the color before you toss it in the wash.
If the stain has already set, you'll need to bring in the big guns. A good pre-wash stain remover is your best bet. You can also try creating a paste with an oxygen-based bleach (like OxiClean) and water. Always, always check the care label on the fabric first and do a quick spot test on a hidden area to make sure your treatment won’t bleach the material.
Yes, a gentle exfoliant can definitely help lift a stain by sloughing off the stained skin cells. The key word here is gentle.
This is not the time for aggressive scrubbing. Using a harsh, gritty scrub will only lead to irritation and can even create tiny micro-tears in your skin, leaving it raw and vulnerable. Instead, reach for a fine-grain facial scrub or whip up a quick DIY paste by mixing a little sugar with olive oil.
Use light, circular motions to massage the mixture over the stain for no more than 30 seconds, then rinse it all off with warm water. Never use a coarse body scrub on your face.
With these pro tips and solutions, you can handle any hair dye mishap with confidence. By prioritizing gentle removal techniques, protecting your skin barrier, and using quality aftercare, you ensure that the only thing that stands out is your beautiful, vibrant hair color.
When you need salon-quality products that keep your color looking brilliant while protecting your hair, explore the complete collection from Morfose.
