Flash Sale 70% Off
Give customers details about the banner image(s) or content on the template.
Are You One of Our Winners?

Learning how to bleach hair at home can feel like unlocking a major beauty skill, turning a pricey salon visit into a creative DIY project. But success hinges on one thing: knowledge. It all comes down to understanding your hair's limits, using the right products, and committing to a solid aftercare routine.
With a smart, safety-first game plan, you can achieve the beautiful blonde results you’re dreaming of, right in your own bathroom. This guide will walk you through every step, from prep to post-bleach repair, ensuring your journey to lighter hair is a successful one.
Think of this as your complete playbook for lightening your hair safely and effectively. Bleaching is a serious chemical process that permanently alters your hair's structure, so we’ve designed this guide to walk you through each stage with confidence. Forget the horror stories of fried, patchy color—we're focusing on an informed, step-by-step method to help you reach your goal blonde.
Before you even think about mixing that lightener, let's talk about realistic goals. Bleaching isn't a one-size-fits-all magic trick. Your final color depends entirely on your starting point—your current shade, your hair's condition, and its chemical history.
Your pre-bleach mindset should be all about patience. The goal isn't just to get lighter hair—it's to have healthy, beautiful lighter hair when you're done.
Healthy hair is the best canvas for any chemical service. When your hair's outer layer (the cuticle) is smooth and well-moisturized, it can handle the lightening process much better, resulting in more even color and significantly less breakage.
Getting your hair in good shape beforehand is essential. Understanding the benefits and tips for healthy hair can make all the difference. This guide covers it all—from assessing if your hair is ready, to choosing the right supplies, and mastering the aftercare to keep your new blonde strong and vibrant.
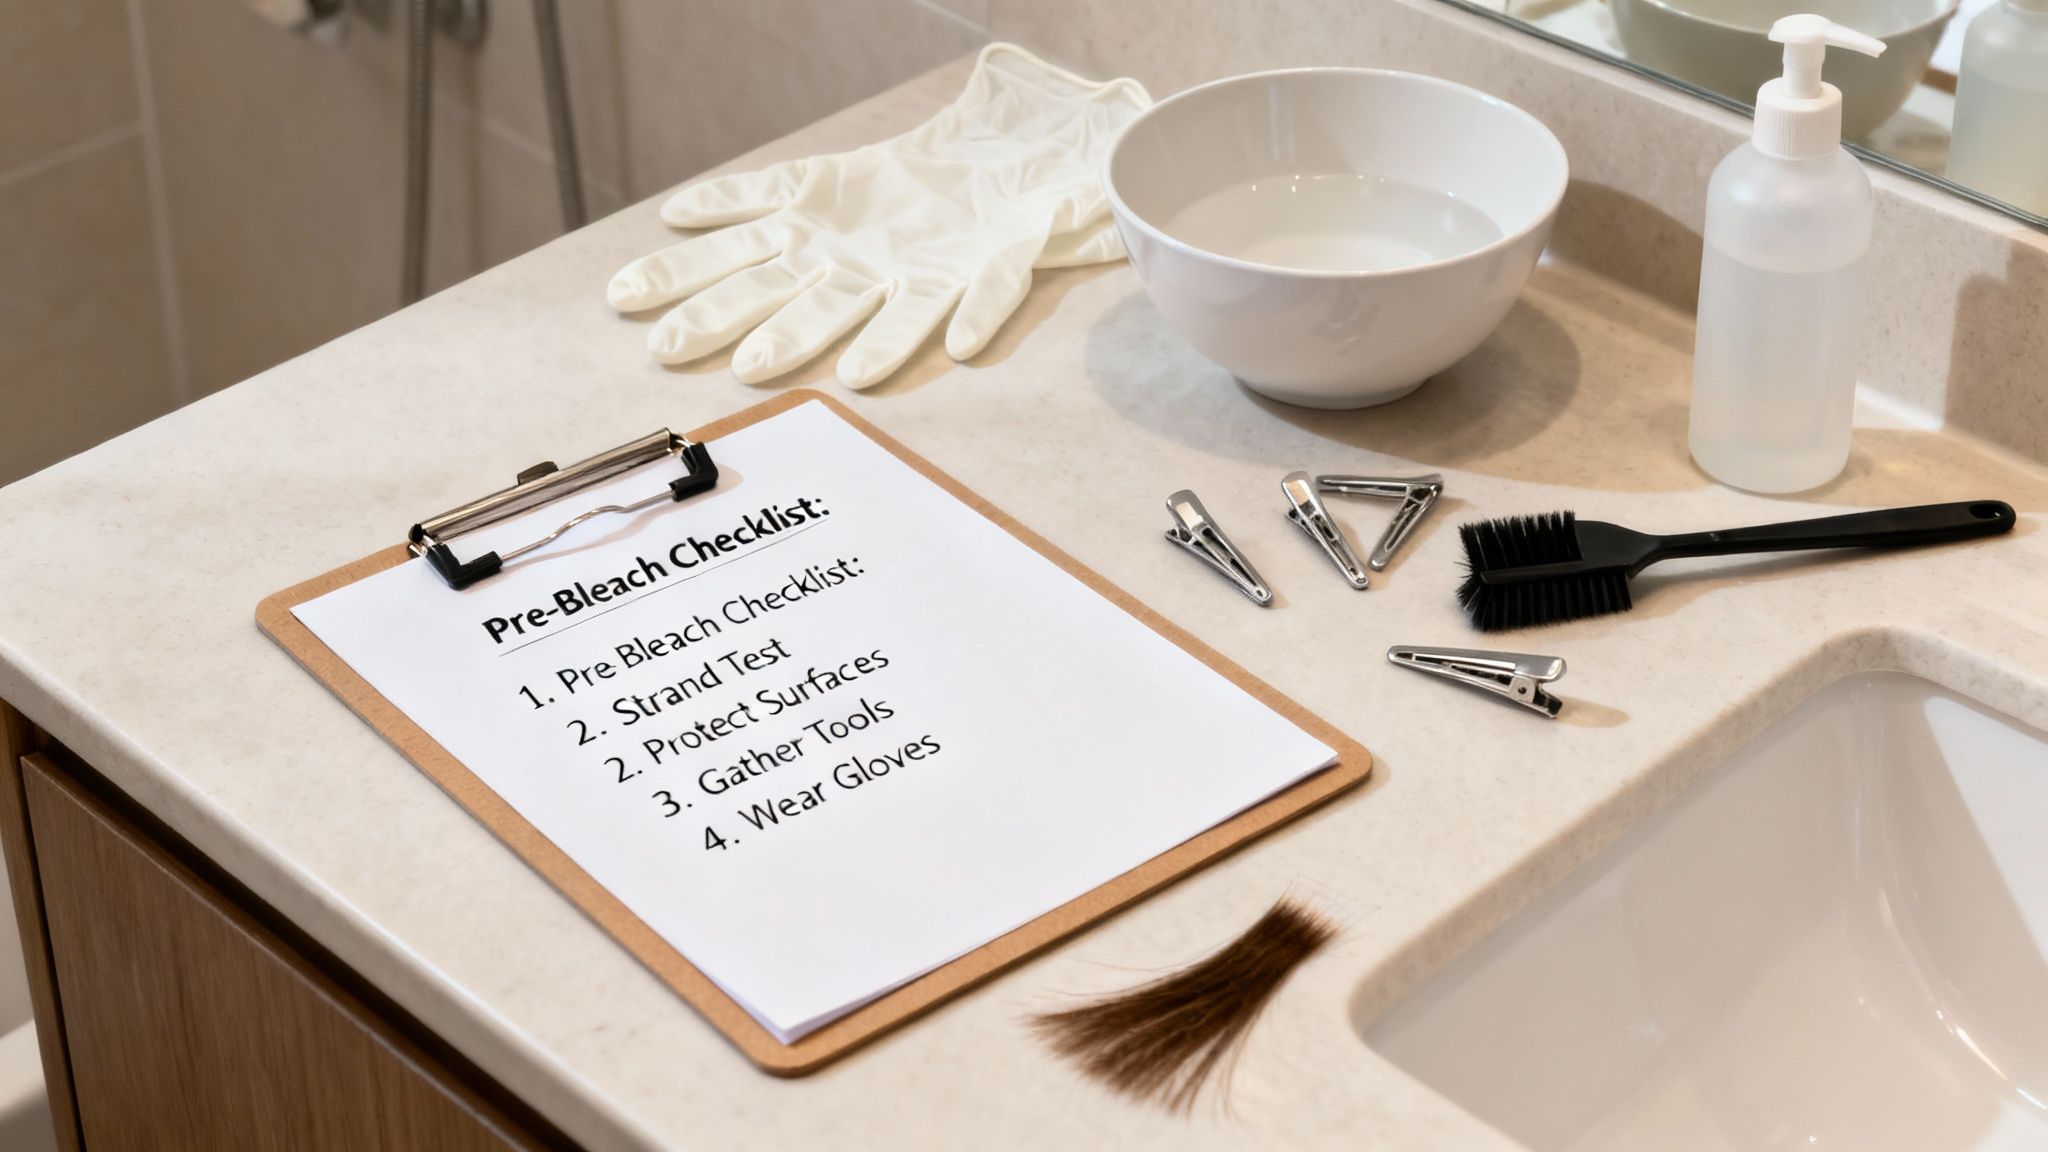
Great results begin long before you mix any bleach. This prep phase is your most important defense against damage and unwanted surprises. Think of it as your pre-bleaching bootcamp, covering the absolute non-negotiables for both safety and success. A little planning now will set you up for an even, healthy-looking result later.
Before applying bleach to your entire head, you must perform two simple tests. These are the same critical steps professional stylists never skip, and they’re even more important when you're learning how to bleach hair at home.
Your hair keeps a detailed record of every chemical service it has ever had. Being honest about this history is key to predicting how it will lift.
Has your hair been colored before, especially with dark box dye? It’s packed with artificial pigments that are stubborn to remove and often lift to unwanted brassy or orange tones. Likewise, if your hair has been chemically straightened or permed, its structure is already compromised, making it much more vulnerable to damage. Porosity also plays a huge role; learn more by understanding low vs high porosity hair.
Key Takeaway: Virgin hair (hair that has never been chemically treated) will always lift the most evenly and predictably. If you have layers of old color, prepare for a more complex process and potentially uneven results.
Having everything you need within arm's reach before you start is a game-changer. Scrambling for a clip with bleach-covered gloves is a recipe for a patchy disaster.
Here is your essential shopping list:
The at-home hair color market has grown significantly. The global hair bleach market was valued at around USD 1.2 billion in 2024 and is expected to keep growing. This surge shows that more people are taking control of their hair color, but it also highlights the need for education on safe application. You can discover more insights about the hair bleach market on datahorizzonresearch.com.
Understanding developer strength is key to a safe and successful bleaching process. Using a developer that’s too strong can cause unnecessary damage, while one that’s too weak won’t provide enough lift.
| Developer Volume | Lift Level | Best For | Processing Speed |
|---|---|---|---|
| 10 Volume | 1-2 levels | Gentle lifting on fine hair, toning pre-lightened hair, or for "bleach bath" techniques. | Slow |
| 20 Volume | 2-3 levels | The standard, most common choice for on-scalp application. Ideal for lifting healthy virgin hair. | Moderate |
| 30 Volume | 3-4 levels | Stronger lift, best for off-scalp applications like balayage or on very dark, coarse hair. | Fast |
| 40 Volume | Up to 8 levels (with professional-grade bleach) | Not recommended for at-home use, especially on the scalp. Reserved for professionals only. | Very Fast |
When in doubt, start with a lower volume developer (20 volume is the safest bet for most people). Rushing the process with a high-volume developer is one of the quickest ways to cause irreversible damage.
You’ve done your prep work, your safety tests are clear, and your tools are lined up. Now it's time to lighten your hair. Let's walk through the application process step-by-step to get clean, even results while keeping your hair as healthy as possible.
Before mixing, get your station ready. Lay down old towels on your counter and floor, as bleach spills will permanently discolor surfaces. Arrange your supplies—non-metal bowl, brush, gloves, clips, and timer—within easy reach. Change into an old t-shirt to avoid ruining your clothes.
Good sectioning is the key to a professional-looking result. Slapping bleach on randomly will guarantee a patchy, uneven lift. The goal is to create clean, manageable sections that allow you to work quickly and thoroughly.
The classic four-quadrant method is the most foolproof approach:
This setup allows you to focus on one area at a time, applying bleach in thin, consistent subsections.
This diagram lays out the critical safety checks you should have already completed before you even think about sectioning.
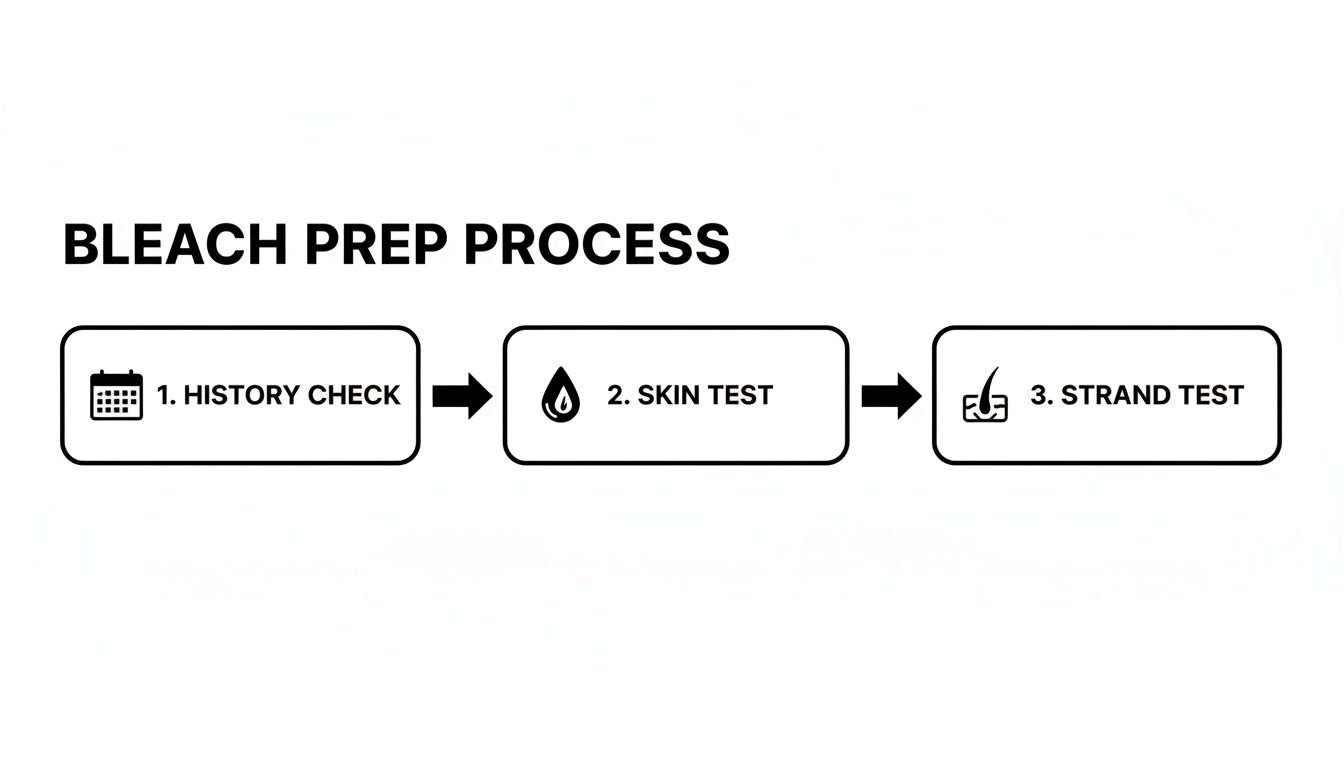
These preliminary steps—understanding your hair's history, doing a patch test, and performing a strand test—are absolutely non-negotiable.
Always follow the ratio recommended by the bleach manufacturer, which is most commonly 1 part bleach powder to 2 parts developer (1:2). For maximum precision, use a small kitchen scale.
Pour the developer into your non-metal bowl first, then add the powder. Mix with your tint brush until the consistency is smooth and creamy, like yogurt, with no lumps. Only mix what you think you’ll use in the next 20-30 minutes, as bleach loses its lifting power over time.
The number one mistake in at-home bleaching is applying the product from roots to ends in one go. This causes "hot roots"—where the hair near your scalp is brighter and brassier than the rest.
Hot roots happen because the heat from your scalp accelerates the bleaching process. To avoid this, be strategic with your application.
For virgin hair, follow this professional method:
For more expert advice, check out the do's and don'ts of professional hair coloring.
Once your hair is saturated, set a timer based on the product instructions and your strand test. However, your eyes are your most important tool. Every 5-10 minutes, gently wipe the bleach off a small strand to check its progress. You’re looking for a pale yellow, like the inside of a banana peel.
Never leave bleach on for more than the maximum time stated on the package (usually 45-50 minutes). Pushing it longer will only cause damage. If your hair isn't light enough when time is up, rinse it out and plan for a second session after giving your hair at least a week to recover. When you're ready, rinse thoroughly with lukewarm water.
You've successfully lifted your hair to that pale yellow stage, but the job isn't done yet. Toning is the make-or-break step that transforms raw, bleached hair into a polished, intentional shade of blonde. It's what separates a brassy, unfinished yellow from a cool, creamy platinum.
Bleaching strips hair of its natural pigment. Dark hair lifts through several stages, from red to orange and finally to yellow. This final pale yellow stage needs to be neutralized.
This is where color theory comes in handy:
Using a toner correctly provides that professional, refined finish and helps you achieve specific blonde shades like icy white or sandy beige.
As soon as the toner is rinsed out, your mission shifts to damage control. The bleaching process leaves your hair in a fragile, highly porous state, starving for protein and moisture.
Key Takeaway: Think of your freshly bleached hair like a sponge. It has been emptied of its natural structure and is now ready to soak up strengthening and hydrating ingredients.
Skipping this step is a huge mistake when you bleach hair at home. An immediate dose of intensive care helps rebuild the hair's internal structure and prevent breakage. The global hair dye market was valued at USD 22.25 billion in 2023, and much of that is driven by fashion shades requiring pre-lightening, which underscores the importance of damage-repair products. Discover more insights about the hair dye market on factmr.com.
Right after rinsing your toner, your hair needs protein to rebuild broken bonds and moisture to restore softness. Using a high-quality, targeted treatment is essential.
Your immediate aftercare should include one of these powerhouse treatments:
To learn more about the role of toner, find out whether toner damages your hair in our detailed guide. This immediate repair step ensures your new color is on hair that's strong, soft, and resilient.
After putting your hair through bleaching and toning, its needs have completely changed. Your old routine won't provide the level of repair needed to keep your new color vibrant and your hair strong. To rebuild, rehydrate, and protect your investment, you need products specifically designed for recovery. Assembling the perfect Morfose aftercare lineup is the final, crucial step in learning how to bleach hair at home successfully.
This is about strategically reintroducing the critical elements your hair lost. Every product should have a purpose, from gentle cleansing that won’t strip your toner to intensive treatments that mend broken bonds.
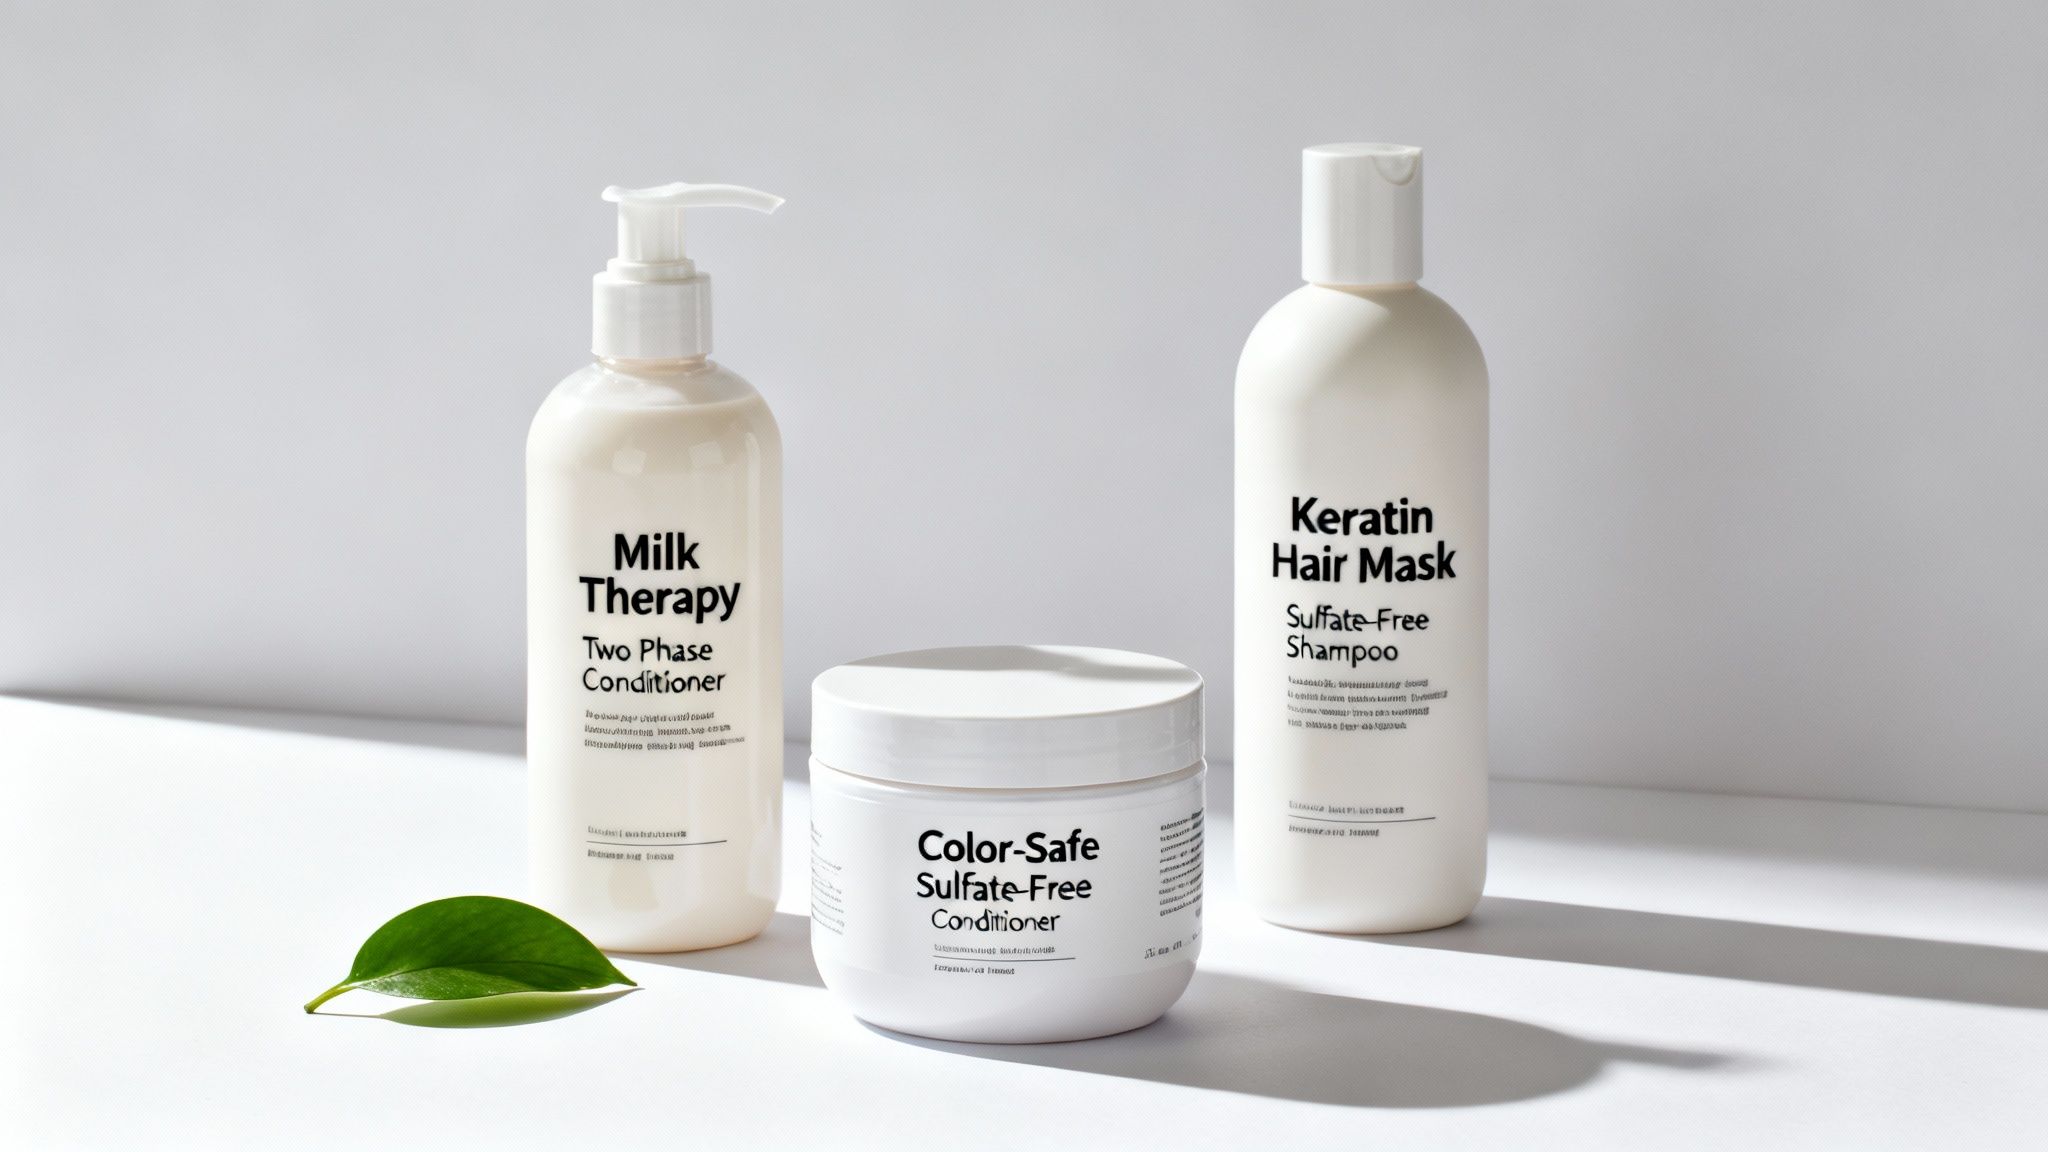
The number one rule of post-bleach care is to be gentle. Standard shampoos with sulfates can wash your toner right down the drain, stripping natural oils and leaving your color dull. A color-safe, sulfate-free formula is non-negotiable.
The Morfose Color-Safe Sulfate-Free Shampoo and Conditioner are made for this moment. They cleanse without being harsh, helping to lock in toner and fight premature fading while maintaining the critical moisture balance of fragile, lightened hair.
Bleached hair is prone to tangles and knots. Forcing a brush through them leads to breakage. Your best defense is a lightweight, hydrating leave-in product.
The Morfose Milk Therapy Two Phase Conditioner is a lifesaver. A few spritzes on damp hair provides instant slip for damage-free detangling. It also infuses hair with milk proteins and 12 amino acids, offering continuous hydration without feeling heavy.
Pro Tip: Keep a bottle of the Two Phase Conditioner in your bag. Mist it over dry ends whenever they feel parched to refresh moisture levels and keep hair looking smooth.
While daily products maintain hair health, a weekly intensive treatment provides deep repair. This is your dedicated time to restore the protein and structural integrity compromised by the bleaching process.
The Morfose Keratin Hair Mask is the perfect weekly ritual. Keratin is a core building block of hair, and this mask delivers a potent dose to help patch up the cuticle, strengthen the strand, and reduce porosity.
For even deeper, structural repair, add a dedicated bond-building treatment. You can learn more about how Morfose 10 Bond Plex works to restore hair, rebuilding broken bonds from within. Consistent use of these powerful treatments will keep your bleached hair resilient, shiny, and healthy for the long haul.
So, you’ve rinsed, and things didn't go quite as planned. Don't panic! Even seasoned DIYers run into issues. A bit of patchiness or some unexpected brassy tones are common and correctable. Let's walk through the most frequent hiccups and how to fix them.
If you see splotchy, darker areas that didn’t lift properly, it's likely due to a rushed application or not fully saturating the hair. For small inconsistencies, a gentle bleach wash (or soap cap) is your best friend.
If your hair turned brassy orange, it just means the bleach didn't lift out all the underlying warm pigments. The answer isn't more bleach—it's toning.
Remember the color wheel: opposites cancel each other out. Blue is the opposite of orange, and violet is the opposite of yellow. If your hair is orange, you need a blue-based toner. If it's bright yellow, a violet toner will cool it down to a perfect blonde.
"Hot roots" occur when the hair at your scalp is significantly lighter and warmer than the rest. This happens because scalp heat accelerates the bleaching process.
To fix it, you need to tone down the root area. Apply a slightly deeper or ashier toner specifically to that hot root band to cool the warmth and help it blend. For a pro-level fix, consider a root smudge with a demi-permanent color that's a shade darker than your ends. This creates a modern shadow root that disguises any hint of hot roots and makes grow-out look intentional.
Even with a detailed guide, a few questions might linger. Let's tackle some of the most common ones to ensure you feel completely confident before you start.
Patience is non-negotiable here. You must wait at least two weeks between full bleaching sessions, though four to six weeks is much safer. This downtime allows your hair's cuticle to recover and gives you a window to load up on deep conditioning treatments to restore moisture and strength. Rushing the process is the fastest way to cause serious damage.
You can, but proceed with extreme caution. Bleaching over old dye, especially dark box dye, is unpredictable. Old color pigments can be stubborn, often resulting in uneven lifting and brassy tones. Always, always do a strand test on colored hair to see how it will react before committing to your whole head.
A word of warning: Hair that's been dyed black or deep red is notoriously difficult to lift evenly. This is a job that is often best left to a professional to avoid a color correction nightmare.
This is an important distinction. Hair dye deposits artificial color into your hair—it adds something. Bleach does the opposite—it removes pigment, stripping out both natural color and any old dye. It's a lightener, not a color itself. This is why you almost always need to follow up with a toner to neutralize unwanted tones and create your perfect shade of blonde.
Ready to give your hair the post-bleach TLC it's craving? Morfose has everything you need to repair, protect, and keep your new blonde looking brilliant. Check out our full lineup of color-safe and restorative hair care at themorfose.com.
