
How to Curl Your Hair for Lasting Professional Results
Learning how to curl your hair for that perfect, long-lasting finish is way simpler than you might think. It really just boils down to two things: using the right techniques for your specific hair type and starting with the right prep. Once you master a few core methods, from a classic curling iron to newer heatless options, you can create virtually any curly style you want, right from home.
This guide will walk you through the essential steps, tools, and pro tips to get those salon-quality curls that actually last all day.
Your Essential Guide to Flawless Curls at Home
Getting those perfect, bouncy curls often feels like a secret only stylists are in on. But it’s not! This guide is here to demystify the whole process, breaking down the exact tools and techniques you need for any look you're after—whether that’s classic ringlets or modern beach waves.
The truth is, a style that lasts all day (or night) starts long before you even plug in your hot tool.
Proper preparation is completely non-negotiable. Think of your hair like a canvas; you have to prime it before you can create a masterpiece. A light mist of a protective product like Morfose Milk Therapy Two Phase Conditioner on clean, damp hair creates a smooth, shielded base. This one small step not only makes your curls look better but helps them hold their shape for so much longer.
We’ll get into everything, from mastering different heat tools to embracing gentle, no-heat methods that keep your hair healthy. The very first step is understanding your own hair, since different textures and lengths react differently. If you’re not sure where your hair falls, figuring out how to know what hair type you have can be a total game-changer for your styling routine.
Consider this your go-to playbook for tackling any curling challenge with confidence.
Quick Guide to Curling Methods
Feeling a bit overwhelmed by the options? Don't be. Choosing the right tool is the first step toward getting the curls you actually want.
Here’s a quick breakdown to help you pick the best approach for your hair and desired look.
| Curling Method | Best for Hair Type | Resulting Curl Type | Difficulty Level |
|---|---|---|---|
| Curling Iron (Clamped) | All types, especially short to medium hair | Uniform, classic ringlets or polished waves | Beginner |
| Curling Wand (Clipless) | Medium to long hair | Natural, beachy waves or tapered curls | Intermediate |
| Hot Rollers | Fine, flat, or long hair | Voluminous, soft, and bouncy curls | Beginner |
| Heatless Ribbons/Rods | All types, especially damage-prone hair | Soft, loose waves or defined overnight curls | Beginner |
Each method has its own strengths, so don't be afraid to experiment to find your personal favorite.
Mastering Classic Heat Styling Tools
When it comes to creating curls, the classic heat styling tools are classics for a reason—they give you control, precision, and results you can count on. Once you get the hang of a traditional iron, wand, or even hot rollers, you can create an incredible range of styles, from sleek and polished waves to perfectly tousled, "I woke up like this" curls.
Let's break down how to use these essential tools to finally get the curls you've always wanted.
The idea behind all heat styling is pretty simple: the tool heats up your hair, allowing you to reshape it. As the hair cools down, that new shape gets locked in. The real key is doing this safely and effectively, which means you can never, ever skip the prep work. You need a clean, completely dry canvas, and protection is non-negotiable.
Here’s a simple way to visualize the essential prep flow.
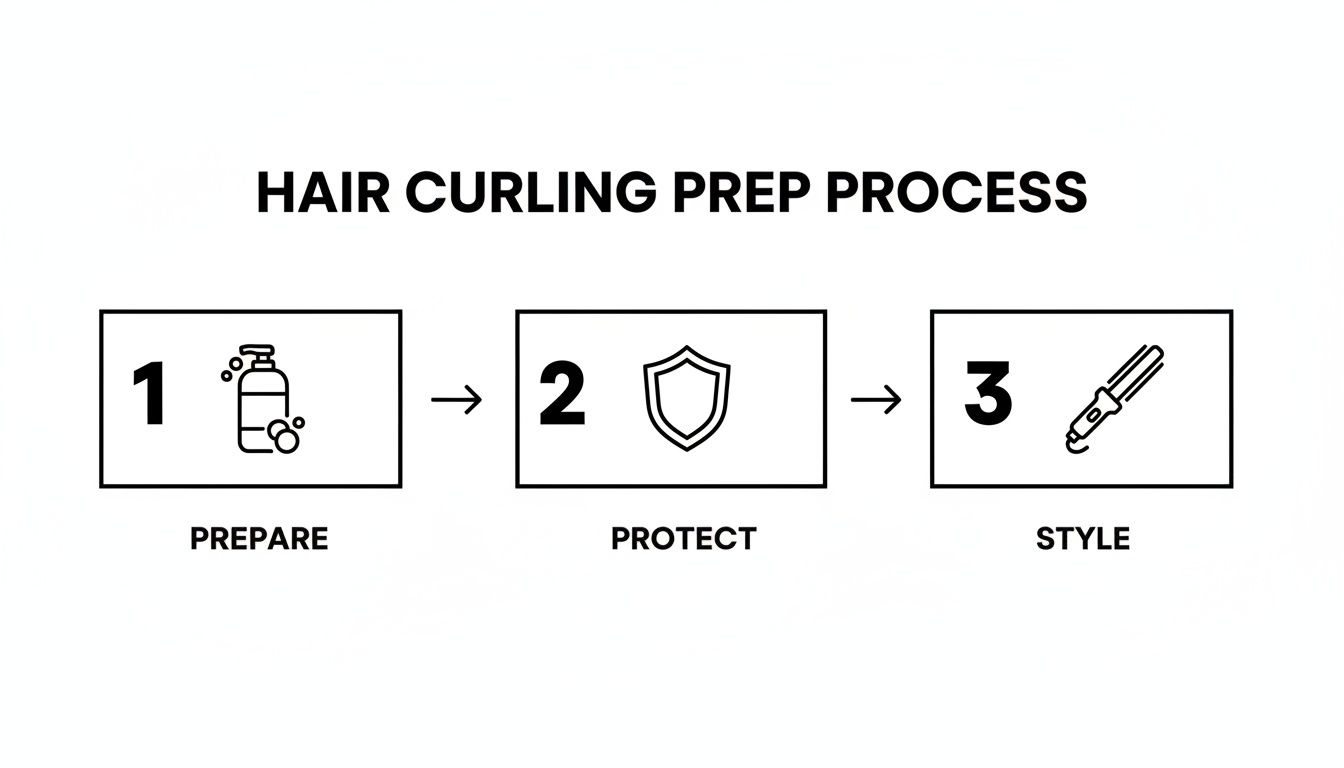
This just drives home the point that styling is the very last step, and it should only happen after you’ve properly prepped and shielded your hair from heat damage.
Creating Classic Curls with a Curling Iron
The traditional curling iron with a clamp is often the first tool people learn on. It’s perfect for creating consistent, bouncy ringlets or polished waves. That little clamp is great for holding the ends of your hair in place, which makes it a fantastic starting point for beginners or for anyone with shorter hair that’s tough to wrap around a wand.
The secret to a modern, less "prom-like" curl is all in the technique. Instead of clamping the very ends and rolling straight up, try this instead:
- Start Mid-Shaft: Grab a one-inch section and clamp your hair about halfway down.
- Twist and Pull: Gently twist the iron while pulling it down slightly toward the ends, then roll it back up toward your roots. This little move helps distribute the heat much more evenly.
- Hold and Release: Hold it for about 5-8 seconds—never more than 10. Release the clamp and let the curl drop into your palm to cool for a beat before letting it fall completely.
Pro Tip: For a more natural, lived-in style, alternate the direction you wrap the hair. Curl one section away from your face, and the next one toward it. This simple switch breaks up the uniformity and creates beautiful, effortless texture.
Effortless Waves with a Curling Wand
A clipless curling wand is your absolute best friend for those relaxed, beachy waves that look like you just spent a day by the ocean. Since there's no clamp, the curls naturally come out a bit looser and more tapered from root to tip. It takes a little more coordination, but the results are so worth it.
You'll be holding the hair with your fingers, so a heat-resistant glove is a non-negotiable accessory to avoid nasty burns. To get that perfect wand wave, hold the wand vertically with the tip pointing down. Take a section of hair and wrap it flat against the barrel, but leave about an inch or two of the ends out. That's the key to creating that modern, undone finish.
Hold the hair for a few seconds, then just slide the wand out from the top of the coil. Before it cools, give the warm section a gentle tug at the end to slightly relax the wave.
The massive popularity of these tools shows a major shift in our beauty routines. The global curling irons market was valued at an impressive USD 4.47 billion in 2022 and is projected to hit USD 6.81 billion by 2030. This growth proves just how many of us are styling at home to get salon-quality hair. But with more use comes more risk; improper heat application is a huge cause of hair damage. Using tools with smart safety features and always pairing them with quality protectants makes all the difference.
Building Volume with Hot Rollers
Don't write off hot rollers as something from your grandma's vanity! They are one of the best-kept secrets for creating incredible volume and soft, bouncy curls. This is especially true for anyone with fine or flat hair that seems to lose its style in an hour. Because they heat the hair from the inside out and let it cool completely in shape, the curls they create are exceptionally long-lasting.
Here’s how to get the most out of them:
- Size Matters: Use the largest rollers at the crown of your head for maximum lift and the smaller rollers for the hair underneath to create tighter curls.
- Clean Sections: Work with sections of hair that are no wider than the roller itself. This ensures the heat spreads evenly.
- Let Them Cool: This is the most critical step! Don't even think about taking the rollers out until they are completely cool to the touch. Removing them while they're still warm is the number one reason curls fall flat.
How Morfose Helps With Safe Heat Styling
No matter which tool you reach for, the golden rule is to always protect your hair. Heat can strip away moisture and break down the very proteins that keep your hair strong and healthy. That’s exactly why a great heat protectant isn't just a suggestion—it's a requirement.
We recommend the Morfose Heat Shield Spray as your first line of defense. Think of it as an invisible force field for your strands. A light mist over dry hair before you even turn on your tool creates a protective barrier that helps stop moisture loss and damage from high temperatures. It's such a simple, quick step that makes a world of difference for the long-term health and look of your hair.
You can learn more by checking out our complete guide on why a heat protectant spray for hair is essential.
By pairing the right tool with the right technique—and most importantly, the right protection—you can master the art of heat styling and create any curly look you want without sacrificing your hair's health.
Using Modern Automatic and Cordless Curlers
Hair tech has come a long way, and today’s tools are smarter than ever—making styling faster, safer, and basically foolproof. If you’ve ever found yourself in a tangle with a traditional curling iron or wand, the world of automatic and cordless curlers might just be the game-changer you've been searching for.
These clever devices take all the guesswork out of creating those perfect, uniform spirals. They're a fantastic solution for anyone who finds the manual wrapping motion a bit awkward. Let’s break down how they work and how you can get flawless curls without the usual frustration.
The Magic of Automatic Curlers
So, what is an automatic curler? It’s a tool that gently pulls a section of your hair into a heated chamber, wraps it around an internal barrel for a set amount of time, and then releases a perfectly formed curl. It completely does away with the need to twist your hair around a hot wand, which is where things often go wrong.
The biggest win here is consistency. Because the machine handles the tension, heat, and wrapping motion, every single curl comes out looking polished and identical to the last.
Ready to give it a shot? Here's how to do it:
- Prep Your Hair: Always start with completely dry, brushed-out hair. And just like with any heat tool, a good heat protectant isn't optional—it's essential.
- Section and Insert: Grab a small section of hair, about one inch wide. Place the top of that section into the designated slot on the curler.
- Activate and Wait: Hit the button, and the tool will gently draw the hair into its curling chamber. Most models will beep to let you know the curl is ready.
- Release and Reveal: Simply pull the tool down and away from your head to release a beautiful curl. Let it cool down completely before you touch it to make sure it sets properly.
A common worry is getting hair tangled inside the device, but modern automatic curlers are built with safety in mind. Most have features that automatically stop and release the hair if they sense too much tension or if the section is too big. Just stick to small, smooth sections, and you'll be fine.
The Freedom of Cordless Curlers
For anyone who styles on the go, travels a lot, or just hates being stuck next to a wall outlet, cordless curlers offer some serious freedom. These portable, rechargeable tools let you curl your hair pretty much anywhere—in the car (while parked, of course!), at the gym, or on vacation.
Many of them combine automatic curling technology with a battery-powered design, so you really get the best of both worlds.
This shift toward smarter, more convenient styling tools is part of a huge trend. The market for these devices is blowing up, projected to grow from USD 4.10 billion in 2023 to USD 5.33 billion by 2029. This boom is fueled by social media, where platforms like TikTok and Instagram influence over 60% of beauty purchases with viral tutorials showing off those effortless-looking curls. These tools also help minimize user error, which can mean less heat damage in the long run. Discover more insights about the hair curling irons market.
Supporting Your Hair Through Smart Styling
Even with tools designed for safety, frequent heat styling can still stress out your hair. Controlled heat is still heat, and over time it can weaken the hair shaft and strip it of moisture. To fight back, you need to support your strands with a solid, restorative care routine.
Adding a weekly deep conditioning treatment can make a world of difference. A product like Morfose's Biotin and Keratin Hair Masks is perfect for this, helping to put back the essential proteins and vitamins that heat styling can deplete. Using a strengthening mask regularly will help maintain your hair's resilience and shine, keeping it healthy and beautiful no matter how you choose to style it.
How to Get Beautiful Curls Without Heat
If you're looking to protect your strands from damage or just want to try a gentler approach to styling, heatless curling is a game-changer. Giving your hair a break from high temperatures doesn’t mean you have to give up on beautiful, bouncy curls. In fact, some of the most stunning and long-lasting styles are created overnight while you sleep.
This approach is all about working smarter, not hotter. It uses time and gentle tension to set your hair into a new shape, which helps preserve its natural moisture and protein structure. Let’s dive into the most effective methods that deliver gorgeous results without a single degree of damaging heat.
The Silk Curling Ribbon Method
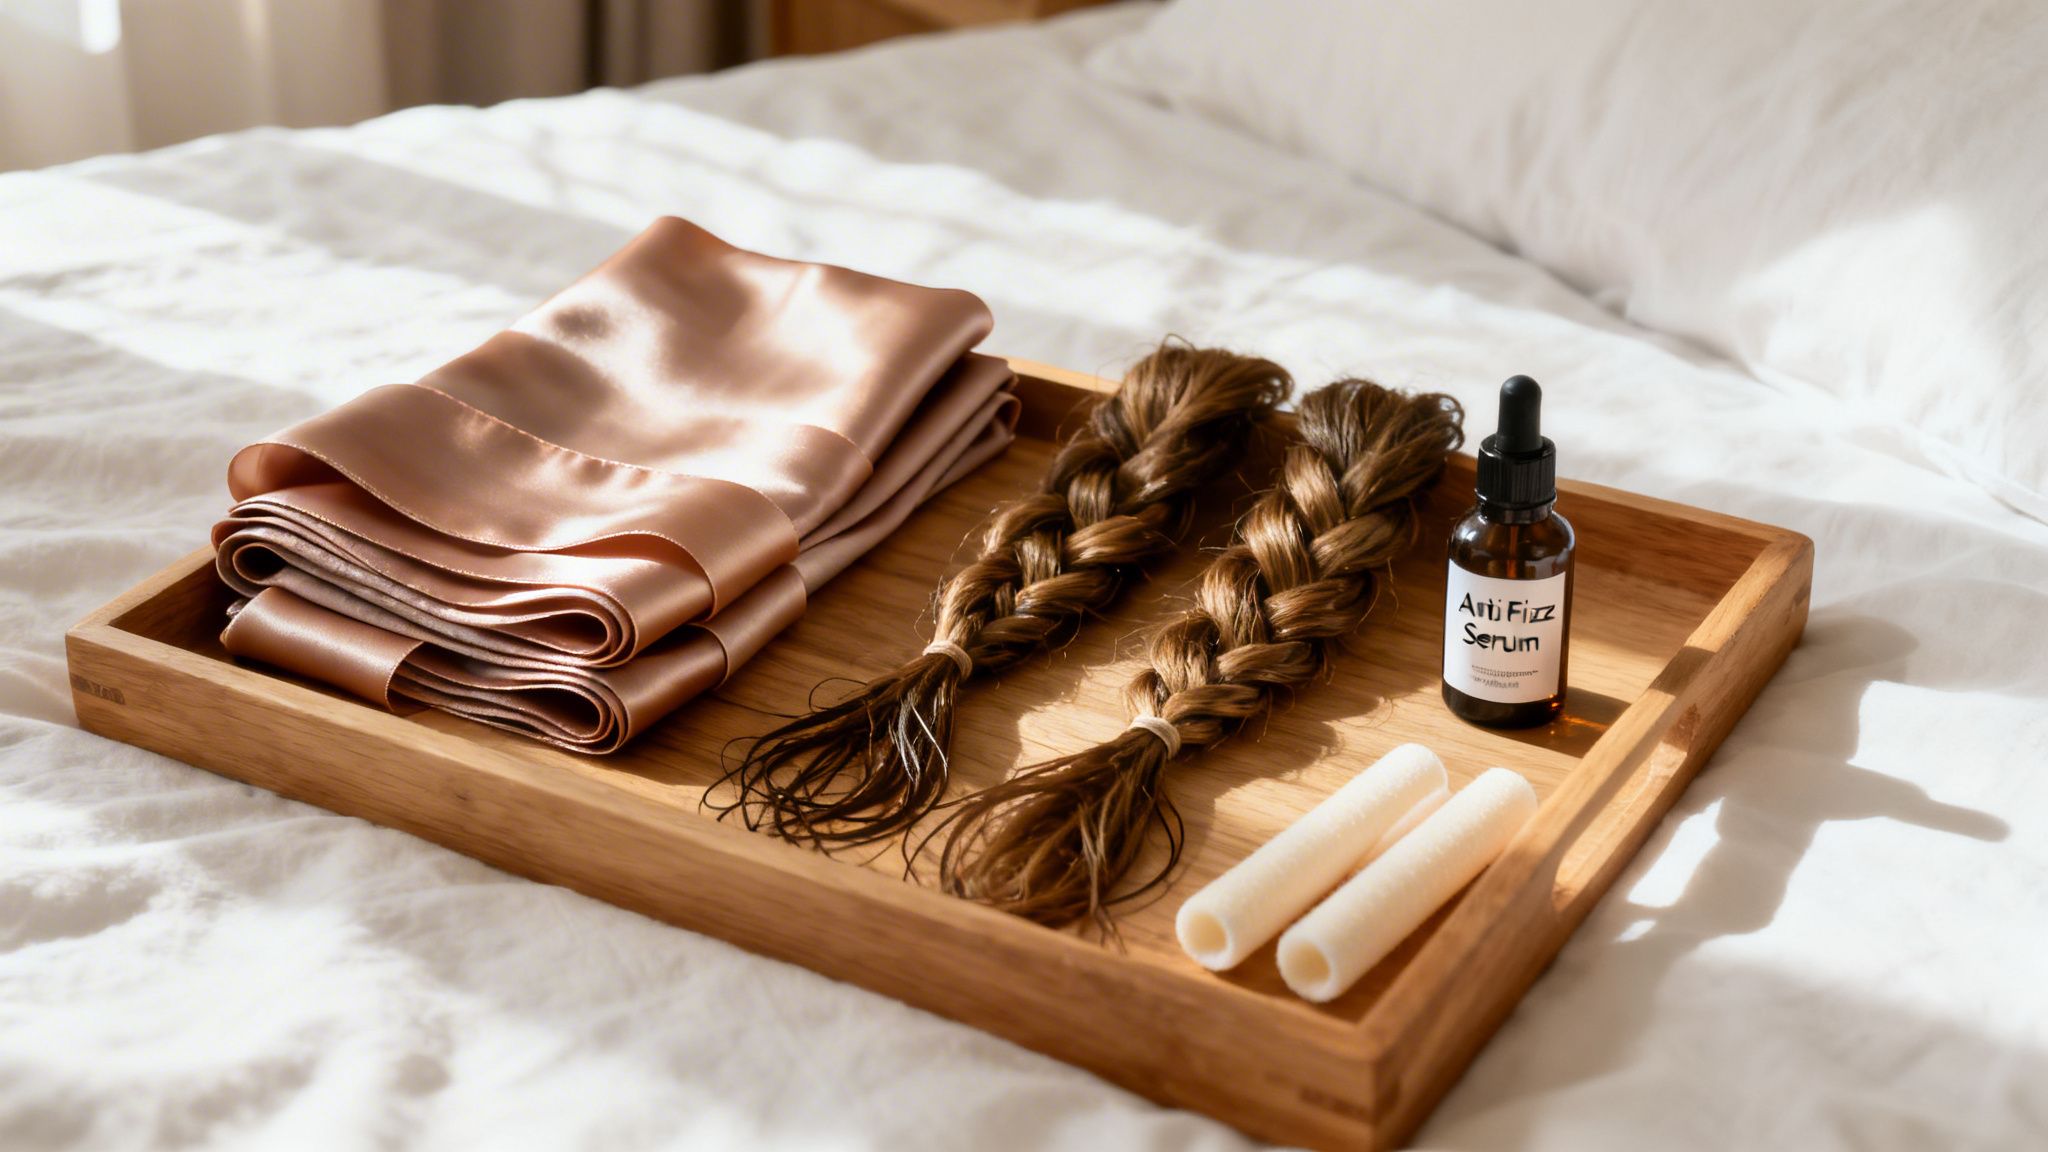
One of the most popular heat-free tools right now is the silk or satin curling ribbon. It's basically a long, soft rod that you place over your head like a headband, then wrap sections of your hair around it. It’s incredibly gentle and reduces the friction that can lead to frizz and breakage—a common problem with rougher materials.
To get the best results:
- Start with Damp Hair: You want your hair to be about 80-90% dry. If it’s too wet, it won’t dry completely overnight. Too dry, and the curls won’t set properly.
- Secure and Wrap: Place the ribbon over your head and use a claw clip on one side to hold it steady. On the other side, take a small section of hair from the front and wrap it around the ribbon, away from your face.
- Add More Hair: As you work your way down, pick up a new section of hair and add it to the piece you just wrapped. Continue this pattern until all the hair on that side is wrapped.
- Secure the Ends: Use a silk scrunchie to tie off the ends, which prevents creasing. Repeat on the other side, remove the claw clip, and you're all set for bed. In the morning, just gently unwrap for soft, flowing waves.
Using Flexible Foam Rods
Flexible foam rods, or flexi-rods, are another fantastic heatless option. They come in tons of different sizes, which lets you completely customize the tightness of your curls. Smaller rods will give you tight ringlets, while the larger ones are perfect for creating bigger, bouncier waves. Best of all, they're soft and comfortable enough to sleep in.
The technique is pretty straightforward. Just take a small section of damp hair, maybe add a little styling mousse for hold, and wrap it around the rod from tip to root. Once you reach your scalp, bend the ends of the rod inward to lock it in place. Do this all over your head, and in the morning, carefully unwind each rod to reveal perfectly defined, springy curls.
It's no surprise that people are turning to gentler styling alternatives. The heatless hair curler market hit USD 168.69 million in 2024 and is expected to keep growing, with demand surging 45% in the past year alone. While traditional irons can cause protein loss in up to 80% of daily users, heatless methods offer a safe way to achieve beautiful curls.
Timeless Pin Curls and Braids
You don't always need special tools to get heatless curls. Classic techniques like pin curls and braiding have been used for generations for one simple reason—they work beautifully.
- Pin Curls: This method is perfect for creating vintage-style, sculpted curls. On damp hair, take a small one-inch section, roll it up into a neat coil, and secure it flat against your scalp with bobby pins. Just let the curls dry completely before you take them down.
- Strategic Braiding: The type of braid you choose will completely change your wave pattern. A single loose braid gives you soft, beachy waves. For more defined, crimp-like waves starting from the root, try two tighter French or Dutch braids.
To learn more about creating beautiful styles without turning up the heat, check out our guide on 7 heatless styling tips for healthy hair.
Recommended Morfose Solutions for Heatless Curls
The real secret to polished, well-defined heat-free curls lies in the prep. Without the smoothing effect of heat, it’s crucial to manage frizz and flyaways from the very beginning. If you start with unruly hair, you'll likely end up with undefined, messy waves.
This is where a quality serum becomes your best friend. Applying a product like the Morfose Anti-Frizz Serum to damp hair before you start wrapping or braiding is a total game-changer. It works by smoothing the hair cuticle, taming pesky flyaways, and adding a touch of moisture.
As your hair dries in the curled shape overnight, the serum helps it set into a sleek, polished, and lasting style. You'll wake up to curls that are not only beautiful but also noticeably smoother and more defined.
Best Morfose Products to Use for Perfect Curls
Knowing how to curl your hair is one thing, but getting those curls to actually last all day? That's a whole different ball game. It all comes down to a smart routine with the right products at every single stage.
Think of it like a painter prepping a canvas. You have to prepare your hair for the heat and styling to get the best possible result. A great curling routine really breaks down into four phases—Prep, Protect, Style, and Finish. Nailing each one is what separates limp waves from flawless, long-lasting curls.
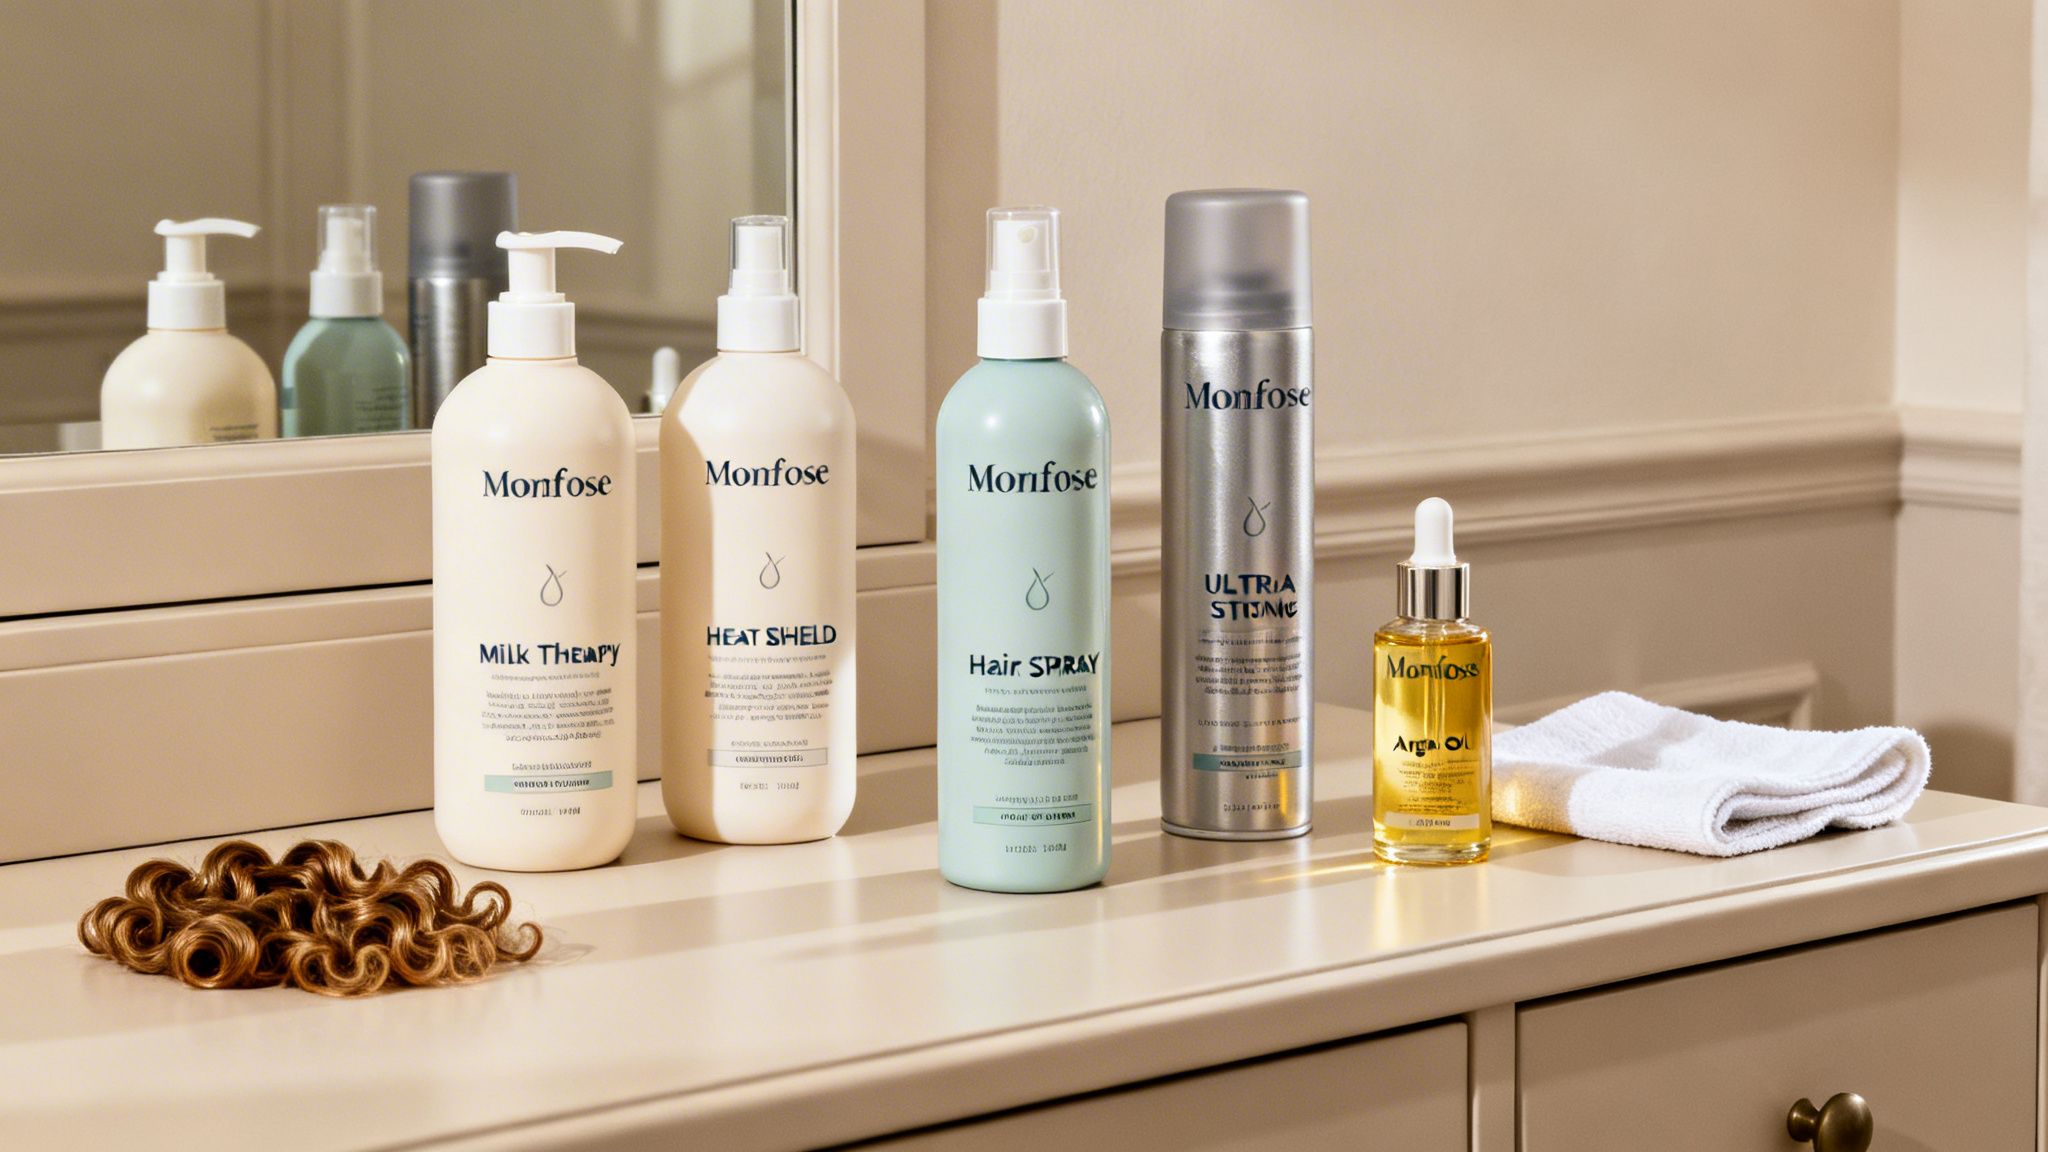
Here’s your complete Morfose game plan for creating and locking in those perfect curls, every single time.
Stage 1: Prep with a Hydrating Foundation
Believe it or not, great curls start in the shower, way before you even plug in your curling iron. Hair that's clean, hydrated, and smooth is the perfect foundation for styling. If your hair is dry or brittle, it’s not going to hold a curl very well and will be far more vulnerable to damage.
That’s why your first move is always a quality wash and condition.
- Morfose Milk Therapy Shampoo: This formula gently cleanses without stripping away your hair's much-needed natural oils. It’s packed with milk protein and 12 essential amino acids to nourish and moisturize right from the start.
- Morfose Milk Therapy Conditioner: Following up with the matching conditioner is key for detangling, softening, and smoothing the hair cuticle. This step is what fights frizz and creates that silky base your hot tools will glide over.
When your hair is properly prepped, you'll find your styling tools can move through it effortlessly, which means more uniform and polished curls for you.
Stage 2: Protect Against Heat Damage
This is probably the most critical step in any heat styling routine. Applying temperatures of 300-400°F directly to your hair without a protective barrier is just asking for split ends, breakage, and dryness. A good heat protectant creates an invisible shield that minimizes moisture loss and protects the integrity of your hair.
Crucial Takeaway: Never, ever apply heat to unprotected hair. Think of a heat protectant as sunscreen for your strands—it’s a non-negotiable step that preserves your hair's long-term health and shine.
For this essential defense, we always reach for the Morfose Heat Shield Spray. Just give it a light mist all over your completely dry hair before you start curling. It forms a lightweight barrier that helps your hair handle the heat without feeling heavy or sticky.
Stage 3: Style with Grip and Volume
Once your hair is prepped and protected, it’s time to build the actual curl. For styles that need extra body and hold—especially if you have fine or straight hair that tends to fall flat—a styling product is your best friend. It gives the hair the "grit" and texture it needs to hold a new shape.
The Morfose Hair Mousse is perfect for this job.
- How to Use: Before you blow-dry, work a golf-ball-sized amount through your damp hair. This adds a ton of volume at the roots and gives your strands a pliable texture.
- The Benefit: That added grip helps your curling iron or wand create a much more defined and resilient curl that won't just drop out within an hour. It’s the real secret to making your style last.
Stage 4: Finish for Lasting Hold and Shine
You’ve done all the work to create beautiful curls—now you have to lock them in. The final finishing touches are what make sure your style holds up all day and looks polished instead of frizzy. This is usually a two-part approach: one for hold, one for shine.
- For Unbeatable Hold: Lightly mist your finished style with Morfose Ultra Strong Hair Spray. Hold the can about 10-12 inches away from your head to get an even, fine mist that won’t weigh your curls down. It gives you a firm, flexible hold that fights humidity without that crunchy feeling.
- For a Touch of Shine: To tame any last-minute flyaways and add a dose of healthy-looking gloss, turn to the Morfose Argan Oil Hair Serum. Warm just one or two drops between your palms and gently smooth it over the mid-lengths and ends. This breaks up any potential stiffness from the hairspray and adds a beautiful, frizz-free sheen.
By bringing these targeted Morfose styling products into your routine, you're setting your hair up for success from start to finish.
Secrets to Making Your Curls Last All Day
There's nothing more soul-crushing than spending an hour crafting the perfect curls, only to watch them droop into sad, limp waves before your day is even half over. We’ve all been there. Knowing how to curl your hair is one thing, but getting that style to actually stick around? That’s the real art form.
Turns out, the secret to long-lasting curls has less to do with luck and more with a few key techniques the pros swear by.
It often starts before you even plug in your curling iron. Here’s a bit of a counterintuitive tip: curls tend to hold much better on second-day hair. Freshly washed hair is often too soft and slippery, meaning there’s nothing for the curl to grip onto. The natural oils and slight texture from day-two hair provide the perfect foundation.
Master the Prep Work
If you absolutely have to style on clean hair, just be strategic about it. Go easy on the conditioner, especially near your roots. Too much of it will weigh your hair down and make it impossible to hold a shape. Keep it focused on your mid-lengths and ends where you need it most.
Once your hair is dry, a quick spritz of a texturizing spray or sea salt spray can work wonders. It’ll give your clean strands that gritty, second-day feel your curls need to hang on for dear life.
Use the Cool-Down Trick
This is probably the single most important trick for locking in a curl, and it happens the second the hair comes off the heat. Instead of letting that freshly formed curl drop, you need to set it.
Pro Tip: As you release the curl from your iron, catch it in the palm of your hand and press the coil up toward your scalp. Use a simple bobby pin or a small clip to secure it against your head while it’s still coiled up.
Leaving the curl pinned while it cools down is what actually sets the style. The heat makes the hair pliable, but the cooling process is what locks the hair’s protein bonds into that new curly shape. If you let it hang while it’s still warm, gravity immediately starts pulling it straight.
It’s a simple process:
- Curl as usual: Wrap a section of hair around your hot tool.
- Release and pin: Slide the curl off the barrel, and without letting it uncoil, pin it securely to your scalp.
- Let it chill: Repeat this all over your head and give the pinned curls at least 10-15 minutes to cool down completely. No cheating!
- Gently unfurl: Once they’re totally cool to the touch, take out the pins and use your fingers to gently shake out the curls.
Lock It In with the Right Finish
You're at the home stretch, and your finishing product can make or break all your hard work. The goal is a strong hold that doesn’t feel like a helmet. Anything too heavy or wet will just weigh down your fresh curls and make them fall faster.
You need something powerful but flexible. We always reach for the Morfose Ultra Strong Hair Spray for the final step. Hold the can about 10-12 inches away from your hair and give it a light, even misting. It delivers a serious, long-lasting hold that fights off humidity and keeps your curls bouncy and touchable—no crunchiness here.
This final touch ensures your curls look just as good at 9 p.m. as they did at 9 a.m. For even more advice on keeping your style sleek, our guide on how to stop curly hair from frizzing has you covered.
Common Hair Curling Questions Answered
Even when you think you've mastered the technique, curling your hair can still throw you a curveball. We get it. To help you troubleshoot those frustrating moments and perfect your process, here are some quick answers to the questions we hear all the time.
Why Won't My Hair Hold a Curl?
This is the age-old dilemma, and it usually comes down to a few key culprits. Most often, your hair is just too clean and silky, which sounds great, but it means there's nothing for the style to grip onto.
- Try styling on second-day hair. A little bit of natural oil provides the perfect amount of grit and texture for curls to last.
- Add some texture before you start. A light mist of a texturizing spray can work wonders, giving your strands the grip they need.
- Check your barrel size. If the iron or wand barrel is too big for your hair length, you're creating a wave that's just too loose to have any staying power.
- Let your curls cool down completely. This is a non-negotiable step. Pinning each fresh curl up to cool is an absolute game-changer for making them last all day (and night).
And of course, a great finishing spray is your best friend. A light veil of Morfose Ultra Strong Hair Spray gives you a solid, flexible hold that locks in the style without that dreaded stiff or crunchy feeling.
What Is the Best Curling Iron Temperature?
Finding that sweet spot with temperature is everything—it's the key to getting a beautiful curl without frying your hair. The right temp really depends on your hair's personality.
Key Takeaway: Always start low and go slow. Begin with a lower temperature and only bump it up if your curls aren't forming properly. It's so much better to be cautious than to risk irreversible heat damage.
If you have fine or color-treated hair, you'll want to stay in the 250-300°F (120-150°C) range. For those with normal hair, a setting between 300-375°F (150-190°C) usually works perfectly. And if your hair is thick, coarse, or notoriously stubborn when it to comes to holding a curl, you may need to go a bit higher, somewhere around 375-420°F (190-215°C).
Should I Curl My Hair Wet or Dry?
Let's be crystal clear on this one: you should always curl your hair when it is 100% bone dry. This goes for any hot tool—curling irons, wands, hot rollers, you name it.
Applying that kind of intense, direct heat to wet hair literally boils the water inside each strand. This causes severe, permanent damage known as "bubble hair," and there's no coming back from it.
The only exception? Heatless curling methods. For those, starting with slightly damp hair is actually necessary because it allows the hair to dry and set into its new curly shape.
Creating the perfect, lasting curl always starts with healthy, protected hair. From heat shields to finishing sprays, the Morfose collection has everything you need to get that salon-quality look right at home. Explore the complete collection and find your perfect styling partners at themorfose.com.
